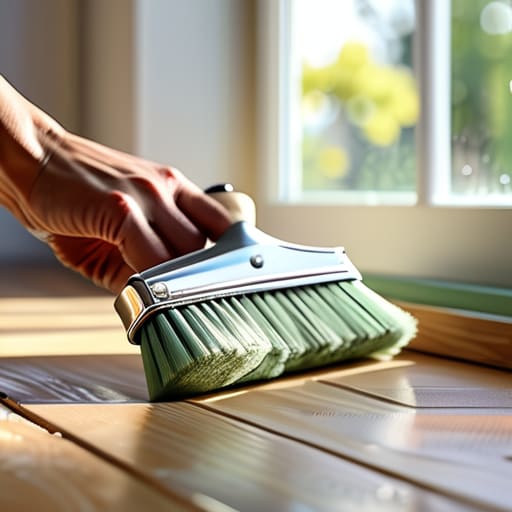
I was standing in the middle of my tiny Brooklyn apartment, staring at a wall that had turned a depressing shade of “corporate cubicle gray,” feeling completely overwhelmed. I had a mountain of half-empty paint cans, a cheap roller that was already shedding fuzz, and a growing sense that I was about to waste my entire Saturday—and a significant chunk of my budget—on a DIY disaster. We often think that learning how to paint a room is just about picking a pretty color and slapping it on a surface, but the truth is that the real magic happens in the prep work and the mindset you bring to the project.
In this guide, I’m stripping away the intimidation factor and giving you my no-nonsense, professional-grade blueprint for success. I won’t bore you with endless fluff; instead, I’ll walk you through the essential tools, the budget-friendly shortcuts, and the little “mindful moments” that turn a stressful chore into a creative ritual. Whether you’re looking to refresh a home office or breathe new life into your bedroom, I’m going to show you exactly how to achieve a flawless, high-end finish without losing your sanity (or your savings) in the process.
Table of Contents
- Step-by-Step Instructions
- Mastering the Foundation How to Prep Walls for Painting
- The Joy of Precision Essential Painting Supplies Checklist
- 5 Pro-Tips to Keep Your Sanity (and Your Space) Flawless
- Bringing It All Together: Your Path to a Peaceful, Painted Space
- More Than Just a Fresh Coat
- The Final Stroke: Finding Peace in the Process
- Frequently Asked Questions
Guide Overview
Tools & Supplies
- Paint roller and tray for large surfaces
- Angled brush for edges and corners
- Painter's tape for protecting trim
- Drop cloths to protect floors
- Interior paint (1-2 gallons depending on room size)
- Painter's tape (1-2 rolls)
- Sandpaper (medium grit for smoothing walls)
- Spackle (small tub for filling holes)
Step-by-Step Instructions
- 1. First things first, we need to clear the canvas. Grab your cleaning supplies and clear out the furniture, or at least push everything to the center of the room. I like to think of this as decluttering your mental space before you tackle the physical one. Wipe down your walls with a damp cloth to remove any dust or cobwebs; if you paint over dirt, you’re basically just decorating a layer of grime, and we want that finish to last!
- 2. Now, let’s talk protection. This is where most people rush, but trust me, your future self will thank you. Lay down drop cloths—canvas is my favorite because it’s much more breathable and absorbent than plastic—and grab some painter’s tape. Apply the tape along your baseboards, window frames, and ceiling edges with a steady hand. Pro tip: run your fingernail along the edge of the tape to ensure a tight seal, otherwise, that beautiful new color might wander where it doesn’t belong.
- 3. Before the “fun” part begins, we have to prep the surface. Check your walls for any pesky holes or dents. Grab a little spackle, fill them in, and let it dry completely. Once it’s set, use a fine-grit sandpaper to smooth out the patches until they are flush with the wall. If you skip this, your new paint job will highlight every single imperfection, and we are aiming for seamless perfection, not a textured nightmare.
- 4. It’s time to prime! I know, I know—it feels like an extra, unnecessary step when you’re eager to see that color pop, but priming is the secret sauce to a professional look. It creates a uniform surface so your paint goes on evenly and the true color shines through. Think of it like a solid financial foundation; you wouldn’t build a skyscraper on sand, so don’t build your aesthetic on unprimed drywall!
- 5. Let’s get into the actual painting! Start by “cutting in”—this means using a brush to paint the edges, corners, and areas around trim where a roller just won’t reach. I like to do this in small sections so the paint stays wet and workable when I move to the main walls. Once your edges are done, grab your roller and go to work using a “W” or “M” pattern. This technique helps you distribute the paint evenly without leaving those dreaded heavy streaks.
- 6. Patience is your best friend here. Once your first coat is on, step back, take a deep breath, and let it dry completely. Don’t be tempted to rush into the second coat too early! Applying a second layer while the first is still tacky is a recipe for a patchy mess. Once it’s dry, repeat the rolling process for your second coat to achieve that rich, saturated color you’ve been dreaming of.
- 7. Finally, the most satisfying part: the reveal! Slowly peel away your painter’s tape while the paint is still slightly tacky to prevent any chipping. Once the tape is off, take a moment to tidy up your supplies and enjoy the view. You didn’t just change a wall color; you transformed your environment, and that is a huge win for your soul!
Mastering the Foundation How to Prep Walls for Painting
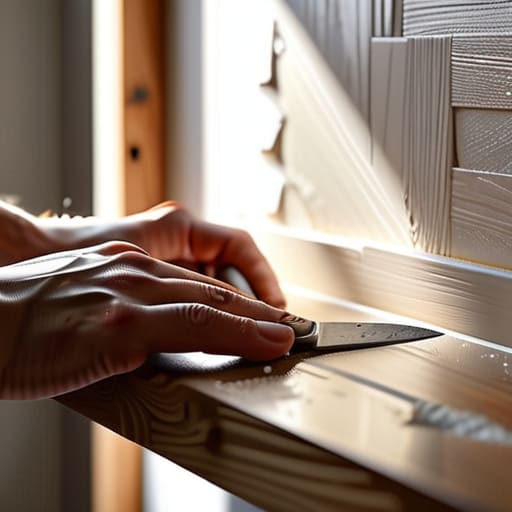
Think of this stage as the “meditation” part of your project—it might feel a little slow, but it’s where all the real magic happens. If you try to rush through how to prep walls for painting, you’ll likely end up frustrated by uneven textures or peeling edges later on. I always tell my clients that just like a solid financial plan, a great paint job requires a rock-solid foundation. Start by clearing the area and wiping down your walls with a damp cloth to remove any dust or oils. If your walls look a little “beat up” from years of moving furniture, don’t sweat it; learning how to patch holes in drywall is a total game-changer that will make your finished product look professionally done.
Once the surfaces are clean and smooth, take a moment to inspect your tools. You don’t need a mountain of gear, but having an essential painting supplies checklist handy will prevent those mid-project hardware store runs that totally kill your flow. Before you even crack a lid, make sure your workspace is protected with drop cloths—think of it as setting boundaries for your creative energy!
The Joy of Precision Essential Painting Supplies Checklist
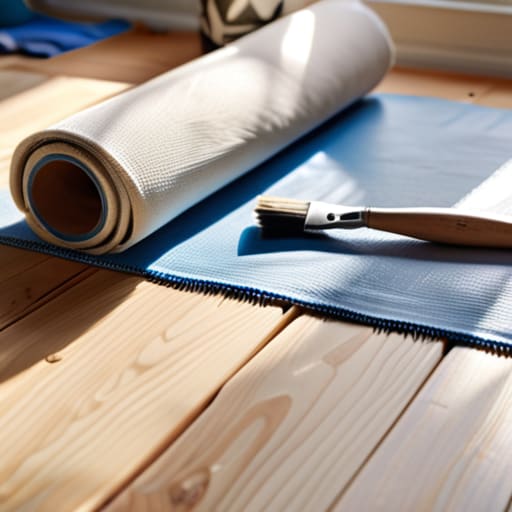
Think of your supply run as setting the stage for a successful performance—you wouldn’t walk onto a Broadway stage without your props, right? To avoid that mid-project panic where you’re staring at a half-finished wall and realizing you’re out of tape, I always recommend creating an essential painting supplies checklist before you even step foot in the hardware store. Beyond the obvious cans of color, don’t overlook the small stuff like high-quality painter’s tape, drop cloths to protect your sanctuary, and a sturdy extension pole. It’s much easier to find peace in your process when you aren’t hunting for a screwdriver in a pile of clutter!
When it comes to the tools that actually touch your walls, please don’t skimp on the quality. Investing in the best paint brushes for walls is a total game-changer; cheap bristles tend to shed, leaving tiny little hairs in your beautiful new finish, which is the opposite of the zen vibe we’re going for. While you’re at it, take a moment for some quick math by calculating paint quantity based on your room’s square footage. Trust me, having that extra bit of leftover paint is much better than running out five minutes before you’re done!
5 Pro-Tips to Keep Your Sanity (and Your Space) Flawless
- Don’t skimp on the tape! I know, I know, it feels like an extra step, but using a high-quality painter’s tape is the difference between a crisp, professional edge and a messy “oops” that looks like a toddler’s art project.
- Think of your lighting like your financial budget—it dictates everything. Before you commit to a color, swatch it on different walls and watch how it shifts from morning sunlight to cozy evening lamp glow. A shade that looks like “calm sage” in the store might turn “swamp green” in your living room!
- Work in small, manageable sections. Just like I tell my coaching clients, you can’t conquer a massive career pivot in one afternoon. Use the “W” or “M” motion with your roller to distribute paint evenly; it prevents those dreaded streaks and saves you from burnout.
- Keep a damp rag in your back pocket at all times. In the world of finance, we call this a contingency fund—it’s your safety net. If a drip happens, catch it immediately before it becomes a permanent part of your decor.
- Listen to your rhythm! Turn on a soulful playlist or a podcast you love while you work. If you treat painting like a chore, it’ll feel like one, but if you treat it like a mindful ritual, you’ll find that zen state that makes the transformation so much more rewarding.
Bringing It All Together: Your Path to a Peaceful, Painted Space
Remember that preparation isn’t just a chore; it’s the foundation of your success, much like setting a solid budget before you start investing!
Don’t rush the process—embrace the rhythm of the brush and treat the painting as a mindful ritual rather than just another item on your to-do list.
Focus on the joy of the transformation, knowing that a little bit of color and a lot of intention can completely shift the energy of your home and your headspace.
More Than Just a Fresh Coat
“Think of painting a room not as another chore on your never-ending to-do list, but as a mindful investment in your sanctuary; when you change your surroundings with intention, you’re actually creating the space for your soul to breathe and your creativity to flourish.”
Lena Anderson
The Final Stroke: Finding Peace in the Process
Now that you’ve navigated the prep work, gathered your supplies, and tackled those tricky edges, you’re standing at the finish line. Remember, the secret to a professional-looking room wasn’t just about having the right brush; it was about the intentionality you poured into every step. From cleaning those walls to ensuring your workspace was organized, you’ve essentially built a foundation for both a beautiful room and a sense of personal accomplishment. Don’t rush that final coat! Taking the time to let everything dry properly is the ultimate way to respect your hard work and ensure the results last for years to come.
As you step back to admire your handiwork, I want you to do more than just look at the color on the walls. Take a deep breath, maybe even a quick moment of mindfulness, and feel the shift in the energy around you. Painting a room is so much more than a DIY home improvement task; it is a metaphor for reclaiming your space and your peace of mind. You didn’t just change a wall color; you cultivated an environment that supports your well-being. So, go ahead—grab a cup of tea, sit in your newly transformed sanctuary, and celebrate the beautiful life you are building, one brushstroke at a time.
Frequently Asked Questions
How do I figure out exactly how much paint I need to buy so I don't end up with a mountain of leftover cans or, even worse, running out mid-wall?
Stop the “mid-wall panic”—we’ve all been there! To nail the math, calculate your total wall area by multiplying height by width, then subtract windows and doors. Divide that number by the coverage listed on the can (usually about 350-400 sq. ft. per gallon). Pro tip: Always budget for two coats to get that professional, soulful finish. Think of it like a savings account—plan for a little extra, but don’t over-invest in clutter!
Is it actually worth the extra time to use a primer, or can I just dive straight in with my chosen color?
I know, I know—you’re itching to see that gorgeous new color on the walls, and adding a primer feels like an extra hurdle. But trust me, as someone who values both efficiency and results, it’s worth the investment! Think of primer as the “financial foundation” of your project; it ensures your color looks even and lasts longer. Skipping it can lead to patchy spots that cost you more time (and sanity) later!
What’s the best way to handle tricky areas like baseboards and ceiling edges without losing my mind (or my sanity) to messy lines?
Trust me, I’ve been there—staring at a wobbly line and feeling my blood pressure spike! To keep your sanity (and your walls) intact, grab some high-quality painter’s tape; it’s your best friend for those sharp ceiling edges. For baseboards, try the “cutting-in” technique with a small angled brush. Pro tip: paint the edge of the tape first to seal it, then hit it with your color. It’s like a little mindful ritual for perfect precision!