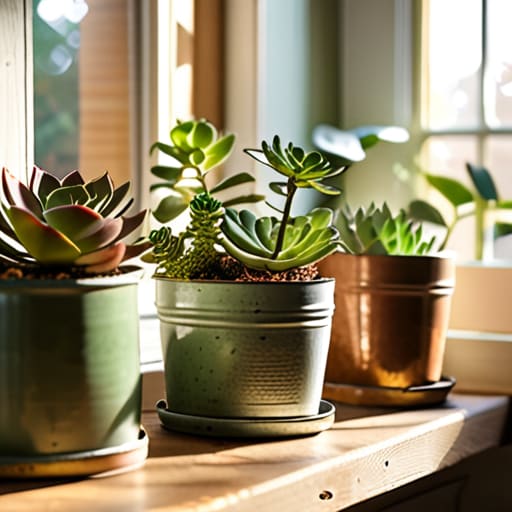
I was sitting on my tiny apartment balcony in Brooklyn last spring, staring at a pile of mismatched, cracked plastic pots and feeling completely overwhelmed by the chaos of my workspace. My mind was racing with quarterly projections and client meetings, and I realized I desperately needed a way to ground myself without spending a fortune. That’s when it hit me: you don’t need a massive budget or a professional studio to create something beautiful; you just need a little bit of creativity and some repurposed items. Crafting your own diy planters isn’t just about decorating a windowsill; it’s about reclaiming a sense of control and finding that sweet spot of creative calm amidst the hustle of daily life.
In this guide, I’m stripping away the Pinterest-perfect illusions and giving you the real, no-nonsense steps to build stunning greenery holders on a budget. We’re going to dive into selecting the right materials, ensuring your plants actually thrive in their new homes, and choosing designs that match your unique personal style. Whether you’re a total beginner or a seasoned crafter, I promise you’ll walk away with practical, actionable tips to turn your living space into a lush, soulful sanctuary.
Table of Contents
- Step-by-Step Instructions
- Upcycled Container Gardening Breathing New Life Into Old Treasures
- Sustainable Gardening Projects for a More Balanced Home
- Rooting for Success: 5 Pro-Tips for Your DIY Planter Journey
- Finding Your Green Thumb and Your Inner Calm
- Finding Growth in the Little Things
- Cultivating Your Own Corner of Calm
- Frequently Asked Questions
Guide Overview
Tools & Supplies
- Drill and drill bits for making drainage holes
- Measuring tape for accurate sizing
- Sandpaper to smooth rough edges
- Upcycled containers (tins, plastic bottles, or wooden crates)
- Potting soil (1 bag)
- Small pebbles (for drainage layer)
- Paint or markers for decoration
Step-by-Step Instructions
- 1. First things first, let’s talk about your “inventory.” Before we dive into the messy part, I want you to scavenge around your house for some repurposable vessels. I’m talking about old tin cans from that delicious tomato soup, vintage teacups from a thrift store, or even those sturdy wooden crates you might have tucked away in the garage. The goal here is to find something with character that speaks to your personal style.
- 2. Once you’ve found your containers, it’s time for a little deep clean. Grab some warm, soapy water and give everything a good scrub to remove any old residue. If you’re using metal cans, make sure to use a file or a pair of pliers to smooth out any sharp edges around the rim. We want our little indoor garden to be a source of zen, not a hazard to our fingers!
- 3. Now, let’s get tactical about drainage—this is where my finance brain kicks in because we need to manage our resources (aka, avoid root rot!). If your container doesn’t have holes at the bottom, grab a hammer and a large nail to carefully tap out a few drainage points. If you’re using something delicate like a ceramic pot that you absolutely cannot drill into, I recommend adding a thick layer of pebbles at the very bottom to help excess water settle away from the roots.
- 4. This is the part where you can really let your creativity run wild and find your flow. Whether you’re using acrylic paints, twine, or even some leftover spray paint from a home project, it’s time to personalize your planters. I love using earthy tones to keep things grounded, but don’t be afraid to go bold! Think of this step as a mini-meditation session—just you, your colors, and a little bit of creative expression.
- 5. Let’s get down to the dirt! Grab a high-quality potting mix—and please, don’t just use dirt from the backyard, as it can be too heavy and may contain unwanted pests. Fill your prepared containers about two-thirds of the way full, leaving enough room at the top so that when you water your plants, the soil doesn’t just overflow onto your beautiful desk.
- 6. Now, gently nestle your chosen plant into the center of the pot. If it’s a nursery plant, massage the root ball slightly to loosen it up before placing it in its new home. Fill in the remaining gaps with more potting mix, pressing down very lightly just to stabilize the plant. You want it to feel secure, but we don’t want to pack the soil so tightly that the roots can’t breathe.
- 7. To wrap up this little ritual, give your new green friend a gentle drink of water to help settle the soil. I like to think of this as the official launch of your new project. Place your DIY planters in a spot that gets the perfect amount of light for your specific plant type, and take a moment to just breathe and appreciate the beautiful, balanced space you’ve just created for yourself.
Upcycled Container Gardening Breathing New Life Into Old Treasures
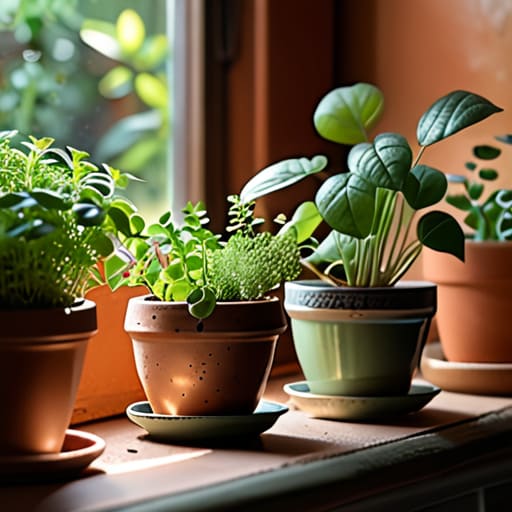
One of my favorite ways to practice mindfulness is by slowing down and seeing the potential in things others might toss away. This is where upcycled container gardening truly shines! Instead of heading to a big-box store to spend a fortune on plastic pots, I love scouring my own kitchen or garage for hidden gems. Think about those old, chipped ceramic mugs that deserve a second chance, or even a vintage tea tin that could become a stunning indoor herb garden diy project on your windowsill.
It’s not just about saving a few bucks—though my finance brain definitely loves the cost savings—it’s about the intentionality of the process. Using repurposed household items for plants allows you to infuse your space with a level of personality that store-bought decor just can’t match. Whether you’re turning an old colander into a hanging basket or using weathered wooden crates for a rustic look, these sustainable gardening projects connect you to the rhythm of nature. Plus, there is something incredibly therapeutic about breathing new life into an old treasure, proving that with a little creativity, nothing is ever truly obsolete.
Sustainable Gardening Projects for a More Balanced Home
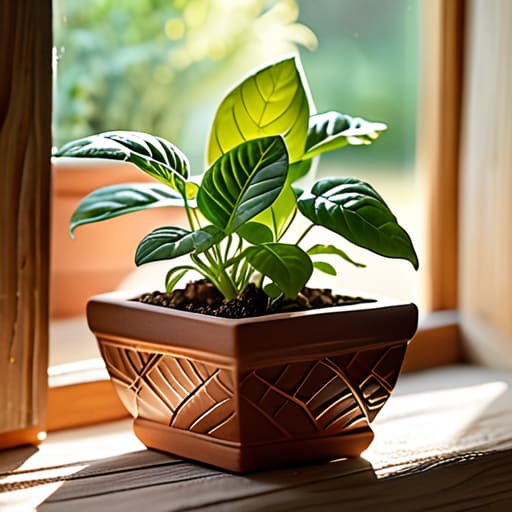
Beyond just the physical act of building something, I truly believe that engaging in sustainable gardening projects is a form of mindfulness in itself. When we slow down to curate our green spaces, we aren’t just decorating; we are creating a sanctuary that supports our mental well-being. If you’re feeling a bit overwhelmed by the thought of a massive overhaul, start small with an indoor herb garden diy. Tending to a little basil or mint on your windowsill can be a grounding ritual that marks the transition from a hectic workday to a peaceful evening.
It’s also incredibly satisfying to realize that you don’t need to spend a fortune at a high-end nursery to achieve a lush, vibrant look. Using repurposed household items for plants—like an old ceramic tea tin or even a weathered wooden crate—adds a layer of soul and history to your home that store-bought items just can’t match. This approach is not only budget friendly garden decor, but it also aligns with a more intentional, low-impact lifestyle. It’s about finding beauty in the unexpected and creating a space that feels uniquely yours.
Rooting for Success: 5 Pro-Tips for Your DIY Planter Journey
- Don’t forget the drainage! Just like we need to set boundaries in our professional lives to avoid burnout, your plants need a way to let excess water escape. Always poke a few holes in the bottom of your containers so you don’t end up with “soggy feet”—for your plants, that is!
- Match your plant’s personality to the pot. I always tell my coaching clients to find a role that fits their natural strengths, and it’s the same with gardening. A thirsty fern won’t be happy in a tiny, shallow succulent pot, so make sure the “workspace” fits the needs of the inhabitant.
- Think about the “ROI” of your materials. While upcycling is beautiful, make sure the container you choose is durable enough to last. Investing a little extra time into sealing a wooden planter or choosing a sturdy ceramic piece means you won’t have to redo the work—and your budget (and sanity) will thank you.
- Layer in some love with the right soil. You wouldn’t try to build a high-flying career on a shaky foundation, right? Use a high-quality potting mix rather than just grabbing dirt from the backyard. It provides the nutrient-rich groundwork your plants need to truly thrive and grow.
- Get creative with your “branding.” Since these planters are part of your home’s aesthetic, don’t be afraid to personalize them! Whether it’s a splash of paint or a bit of twine, making the planter uniquely yours turns a simple chore into a mindful moment of self-expression.
Finding Your Green Thumb and Your Inner Calm
Remember that DIY planters are about more than just decor; they are a creative outlet that allows you to slow down and practice mindfulness amidst a hectic work week.
Don’t be afraid to get resourceful with upcycled containers, as breathing new life into old treasures is both a budget-friendly financial win and a great way to practice sustainability.
Whether you’re building from scratch or repurposing an old tin, the goal is to create a little pocket of nature that helps you maintain a sense of balance and joy in your home environment.
Finding Growth in the Little Things
“Think of DIY planters as more than just a weekend project; they are tiny, handcrafted investments in your own mental well-being. Just like a well-diversified portfolio, nurturing a little bit of greenery in your own space helps cultivate a sense of stability and joy that pays dividends long after the soil has settled.”
Lena Anderson
Cultivating Your Own Corner of Calm
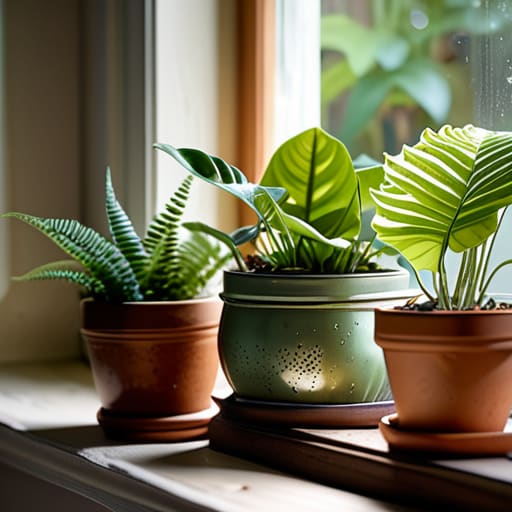
As we wrap up our little DIY journey, I hope you feel a sense of excitement about the possibilities sitting right in your recycling bin or your local craft store. From repurposing old kitchen treasures to building sustainable setups that honor the planet, we’ve explored how easy it is to bring the outdoors in. Whether you chose upcycled containers or went the eco-friendly route, the most important thing is that you’ve taken a step toward intentional living. Creating these planters isn’t just about decorating a shelf; it’s about the intentional act of nurturing something new right in the middle of your busy schedule.
At the end of the day, my goal for you isn’t just to have a prettier living room, but to have a little more peace in your soul. Life in the city—or even just the daily grind of a corporate career—can feel so fast-paced and overwhelming, but there is something incredibly grounding about getting your hands a little dirty. Let these plants be a gentle reminder to breathe and slow down. Remember, true success is found in these small, quiet moments of creativity and connection. Now, go grab some soil, find your rhythm, and grow something beautiful!
Frequently Asked Questions
How do I make sure my upcycled containers have enough drainage so I don't accidentally drown my plants?
Oh, the classic “drowning the greenery” dilemma! Trust me, I’ve been there—usually right after a stressful week when I just wanted everything to be perfect. To avoid root rot, you absolutely need drainage holes. If you’re using a tin can or plastic tub, grab a hammer and a large nail (or a drill if you’re feeling fancy) and pop a few holes in the bottom. If you can’t drill holes, add a thick layer of pebbles at the base to create a little reservoir!
Are there specific types of DIY planters that work better for low-light apartments versus sunny balconies?
That is such a smart question! Think of it like choosing the right office setup—you wouldn’t use a bright, neon desk lamp in a cozy reading nook, right? For those dim, low-light apartments, I love using deep, dark ceramic or terracotta planters; they feel grounded and help retain moisture for shade-loving plants. For sunny balconies, go with light-colored wood or breathable resin to prevent your plants from literally cooking in the heat!
What’s the best way to decorate my handmade planters without using toxic paints that might harm the soil?
I love that you’re thinking about this! Protecting your soil is just as important as the aesthetic. Instead of reaching for those chemical-heavy spray paints, try using natural elements like jute twine or hemp rope to wrap your containers—it adds such a beautiful, boho texture. You can also use non-toxic, water-based chalk paints or even experiment with natural dyes like turmeric or coffee. It’s all about creating beauty that’s safe for your plants and your peace of mind!