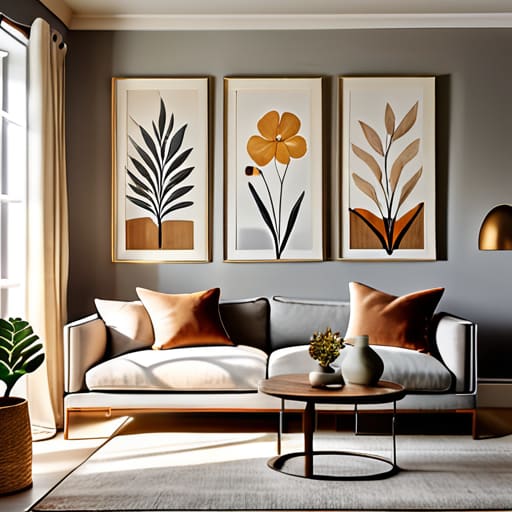
I remember sitting on the floor of my tiny, first NYC apartment, surrounded by intimidatingly expensive canvases and feeling completely paralyzed. I had this idea that if I didn’t have a degree in fine arts or a massive budget, I didn’t belong in the world of DIY decor. But here’s the truth: you don’t need a gallery-sized bank account to create something that breathes life into your home. Learning how to make wall art isn’t about achieving technical perfection; it’s actually a beautiful way to practice mindfulness and reclaim your space from the chaos of a high-pressure career.
In this guide, I’m stripping away the pretension and the “expert” gatekeeping to show you exactly how to get started. I’ll walk you through practical, budget-friendly methods that focus on creative expression rather than expensive supplies. Whether you want to try textured abstracts to calm your mind after a long workday or simple minimalist prints, I’m going to give you the honest, no-hype steps to transform your walls. Let’s turn your living space into a true sanctuary, one brushstroke at a time.
Table of Contents
- Step-by-Step Instructions
- Mastering Abstract Canvas Painting Techniques for Creative Flow
- Budget Friendly Wall Decor Projects to Refresh Your Sanctuary
- My Secret Sauce: 5 Pro-Tips for Creating Art That Actually Feels Like Home
- Finding Your Creative Rhythm: My Top Lessons
- Finding Your Creative Rhythm
- Creating Your Sanctuary, One Masterpiece at a Time
- Frequently Asked Questions
Guide Overview
Tools & Supplies
- Paintbrush (various sizes for application)
- Painter's tape (for creating clean geometric lines)
- Pencil (for sketching initial designs)
- Canvas or Wood Panel (1 piece)
- Acrylic Paint (set of multiple colors)
- Gesso (1 small jar for priming)
- Water Cup (1 container for cleaning brushes)
Step-by-Step Instructions
- 1. First things first, let’s gather our supplies, but think of this less like a chore and more like setting the stage for your creative ritual. You’ll want a sturdy canvas or even some high-quality textured paper, some acrylic paints (they’re much more forgiving than oils!), a few different brush sizes, and maybe even some old magazines for collage work. I always find that having everything laid out neatly on my coffee table helps me feel centered before I even make the first stroke.
- 2. Next, I want you to clear some mental space by choosing a color palette that actually makes you feel good. Instead of just grabbing whatever is on sale at the craft store, think about the emotional vibe you want your room to have—maybe soft, calming blues for your bedroom or energizing ochres for your home office. Picking your colors ahead of time is like creating a miniature roadmap for your soul, ensuring the final piece resonates with your personal energy.
- 3. Now, let’s dive into the actual application, and here is my biggest piece of advice: embrace the mess. Grab your brush and start layering your colors onto the canvas, but don’t feel pressured to create a perfect masterpiece on the first try. I like to treat the first layer as a “background meditation,” where I just focus on the movement of the brush and the way the pigment flows, letting go of any perfectionism that might be creeping in from my corporate days.
- 4. Once your base layer is a bit more settled, it’s time to add some depth and texture, which is where the real magic happens. You can use a palette knife to create thick, sculptural ridges or even mix in a little bit of sand or fabric scraps to give it a tactile quality. This step is all about sensory engagement, allowing you to step away from the digital screens of your workday and reconnect with something physical and real.
- 5. If you’re feeling a bit stuck or if the “blank canvas anxiety” starts to kick in, try incorporating some mixed media elements like gold leaf or pressed flowers. This is a wonderful way to infuse intention into your art, turning a simple painting into a personal talisman. It’s like adding a little bit of unexpected joy to a structured budget—it’s those small, beautiful details that make the whole thing feel complete.
- 6. Finally, once your creation is dry, you need to decide how it’s going to live in your sanctuary. Whether you’re leaning it against a bookshelf for a casual look or hanging it prominently in your workspace, make sure its placement serves your peace. I always suggest taking a moment to sit with your new piece once it’s up, breathing deeply and celebrating the fact that you created something beautiful all on your own.
Mastering Abstract Canvas Painting Techniques for Creative Flow
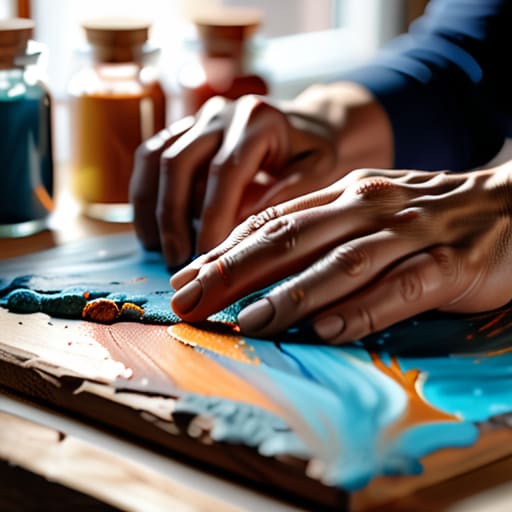
If you’re feeling a bit intimidated by a blank canvas, I want you to take a deep breath and remember that perfection is the enemy of progress. When I’m diving into abstract canvas painting techniques, I treat it less like a technical task and more like a moving meditation. Instead of trying to paint a specific object, try focusing on the movement of your brush or the way colors bleed into one another. This is one of those modern home decor DIY moments where you can truly let go of your corporate “perfectionist” brain and just play.
To add some professional-looking depth without breaking the bank, I highly recommend experimenting with textured wall art methods. You don’t need expensive professional tools; you can use old palette knives, even a piece of cardboard, to layer thick acrylics or modeling paste. It creates this incredible, tactile dimension that makes your piece look like it belongs in a high-end gallery. Think of it as a way to add soul and substance to your space, turning a simple DIY project into a centerpiece that reflects your unique energy.
Budget Friendly Wall Decor Projects to Refresh Your Sanctuary
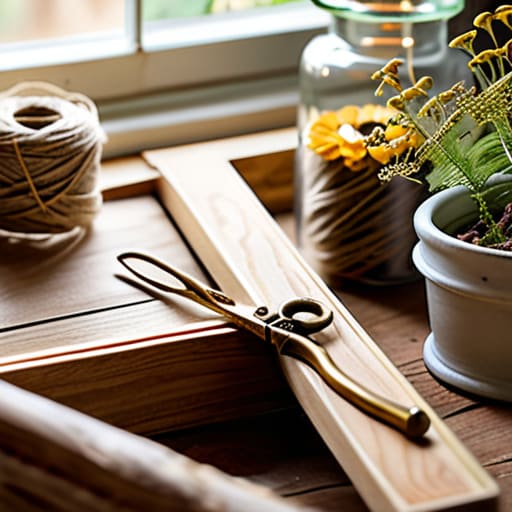
Now, let’s talk about something that hits close to home for many of my clients: the intersection of creativity and financial wellness. You don’t need a massive renovation budget or a designer’s bank account to transform your space into a sanctuary. In fact, some of my favorite budget friendly wall decor projects involve repurposing things you already have. Think about those old, empty picture frames gathering dust in your closet—instead of tossing them, try layering vintage fabric or pressed botanicals inside. It’s a beautiful way to practice mindfulness while creating something meaningful without the “retail therapy” hangover.
If you’re looking for something a bit more tactile, I highly recommend experimenting with textured wall art methods using inexpensive materials like joint compound or even modeling paste from a local craft store. You can apply it to a thrifted canvas to create those high-end, sculptural looks that are so popular in modern home decor DIY circles right now. It’s incredibly therapeutic to feel the movement of the paste, almost like a mini yoga session for your hands. Remember, the goal isn’t perfection; it’s about creating a space that breathes with you.
My Secret Sauce: 5 Pro-Tips for Creating Art That Actually Feels Like Home
- Don’t fear the “messy middle.” When you’re working on a piece, there’s always a point where it looks like a chaotic disaster—I call it the “creative slump.” Instead of tossing your brush aside, take a deep breath, step back, and remember that some of the most beautiful textures come from those unplanned, slightly messy moments.
- Curate your color palette with your energy in mind. Just like I choose my yoga flow based on how I feel, choose your art colors based on the vibe you want for your room. If you’re looking for a peaceful sanctuary after a high-stress day in the city, lean into those soothing blues and soft sages rather than high-octane neons.
- Think about scale and “breathing room.” One mistake I see people make is choosing art that’s way too small for their walls, which can make a room feel cluttered and anxious. Aim for pieces that command the space but still leave enough “white space” around them so your eyes—and your mind—can actually rest.
- Mix your mediums to add soul. You don’t have to stick to just one thing! Try layering some pressed botanicals over a watercolor wash or adding some gold leaf to a textured canvas. That little bit of unexpected dimension is what turns a “project” into a meaningful piece of decor that tells a story.
- Set a boundary for your creativity. It sounds counterintuitive, but give yourself a “creative window”—maybe it’s Sunday mornings with a latte—and then stop. Don’t let your DIY projects bleed into your entire weekend. True balance means knowing when to create and when to simply sit in the beauty of what you’ve made.
Finding Your Creative Rhythm: My Top Lessons
Don’t let perfectionism steal your joy; the goal of DIY wall art is to create a space that feels like you, not to produce a museum-quality masterpiece.
Use your creative projects as a mental reset button to help bridge the gap between your high-pressure career and your much-needed downtime.
Remember that beautiful decor doesn’t require a massive budget, just a little bit of intention and the willingness to experiment with what you already have.
Finding Your Creative Rhythm
“Making your own wall art isn’t just about decorating a room; it’s about reclaiming your time and creating a visual sanctuary that reminds you to breathe, even when your career feels like a whirlwind.”
Lena Anderson
Creating Your Sanctuary, One Masterpiece at a Time
We’ve covered a lot of ground today, from the technical nuances of mastering abstract canvas painting to finding those clever, budget-friendly ways to refresh your space without breaking the bank. Whether you chose to dive deep into a flow state with complex textures or kept things simple with a DIY project that fits your lifestyle, the goal was never just about the finished product hanging on your wall. It was about the process of intentional creation and the way you channeled your energy into something tangible. By experimenting with different mediums and techniques, you’ve essentially built a toolkit that allows you to bridge the gap between a high-pressure professional life and a peaceful, soulful home environment.
As you hang your new creations, I want you to remember that your home should be a reflection of your inner journey, not just a showroom for trends. Don’t be afraid to let your art be imperfect or even a little messy; after all, true balance comes from embracing the beautiful chaos of being human. Let these pieces serve as visual reminders that you are capable of creating beauty in all areas of your life, whether you’re navigating a boardroom or a blank canvas. Go ahead, take a deep breath, admire your handiwork, and enjoy the wonderful sanctuary you’ve built for yourself.
Frequently Asked Questions
I’m worried about the mess—what are your best tips for keeping paint and supplies from taking over my entire living room?
I totally get it—the last thing we need is a creative breakthrough turning into a cleaning nightmare! To keep your sanctuary peaceful, I swear by the “contained station” method. Set up a dedicated drop cloth or a silicone mat to catch those rogue drips. Also, keep your supplies in a portable caddy; when you’re done, everything slides right back into its home. It’s all about creating boundaries, both in your art and your life!
How do I know if a piece I’ve made actually looks "professional," or if it just looks like a DIY experiment gone wrong?
Honestly, I’ve been there—staring at a project thinking, “Is this art, or did I just spill paint?” To tell the difference, look at the intentionality. Professional pieces usually have a sense of cohesion, whether it’s a consistent color palette or a deliberate texture. If it feels chaotic without a “why” behind the mess, it might need a tweak. Don’t sweat it, though; sometimes the “perfectly imperfect” look is exactly what your soul needs!
Since I'm trying to be mindful of my budget, are there specific high-quality materials that are actually worth the splurge versus the ones I can skip?
I totally get it—when you’re balancing a budget, every dollar counts! If you’re going to splurge, invest in high-quality artist-grade pigments or heavy-duty canvases; they won’t fade or warp, making your art last a lifetime. However, you can definitely skip the pricey, branded brushes and specialty storage cases. A decent set of synthetic brushes works wonders, and honestly, a simple organizer from a craft store does the job just fine!