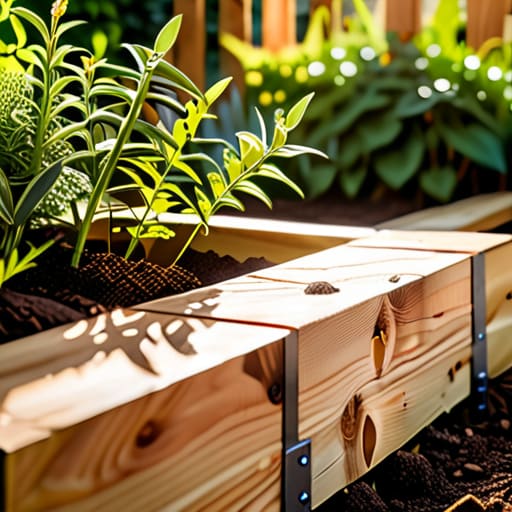
I was standing in my tiny backyard last spring, staring at a patch of stubborn, rocky soil and a pile of expensive lumber, feeling completely overwhelmed by the idea of DIY projects. Most people will tell you that learning how to build a raised garden bed is all about having the most expensive power tools or a degree in landscaping, but honestly? That’s a total myth. After years of navigating high-pressure corporate finance in NYC, I’ve learned that the most successful projects—whether they are your career or your garden—don’t require a massive budget or a perfect setup; they just require a solid foundation and a bit of intentionality.
In this guide, I’m stripping away the fluff to show you exactly how to get your hands dirty without the unnecessary stress. I’ll walk you through the essential materials, the smartest ways to budget your spending, and the simple steps for how to build a raised garden bed that actually lasts. My goal is to help you create a space where you can cultivate both your veggies and your inner peace, ensuring your new hobby feels like a reward rather than another item on your overwhelming to-do list.
Table of Contents
- Step-by-Step Instructions
- Choosing the Best Wood for Raised Beds and Longevity
- Mastering the Perfect Raised Bed Soil Mix Ratio
- Beyond the Build: 5 Pro-Tips to Keep Your Garden Growing (and Your Stress Low)
- Growing Your Garden (and Your Zen): My Top Three Takeaways
- Cultivating More Than Just Plants
- Nurturing Your New Garden Sanctuary
- Frequently Asked Questions
Guide Overview
Tools & Supplies
- Measuring tape for accurate wood cuts
- Power drill for driving screws
- Level to ensure even ground
- Hand saw or miter saw for cutting lumber
- Untreated cedar or redwood boards (approx. 3-4 pieces)
- Galvanized wood screws (1 box)
- Garden soil and compost (enough to fill volume)
- Hardware cloth or landscape fabric (optional for base)
Step-by-Step Instructions
- 1. First things first, we need to talk about your investment strategy—and by that, I mean your materials! Before you pick up a hammer, head to your local hardware store and grab some untreated cedar or redwood. I know, I know, it costs a little more upfront, but think of it as diversifying your assets for the long term; these woods are naturally rot-resistant, so you won’t be rebuilding your “portfolio” every single season. Grab some galvanized screws too, because we want this structure to be as stable as a well-managed 401(k).
- 2. Once you’ve got your wood, it’s time to map out your physical workspace. Find a spot in your yard that gets plenty of sunlight—think of it as finding the most productive corner of your office. Clear away any weeds or large rocks, and use a level to make sure the ground is relatively flat. If your foundation is wonky, your whole garden will feel out of balance, and we are all about that zen equilibrium here!
- 3. Now, let’s get building! Lay out your boards to form a rectangle and start driving those screws in. I highly recommend pre-drilling your holes first; it sounds like an extra step, but it prevents the wood from splitting, which saves you from a major headache later on. If you’re feeling a bit overwhelmed by the construction, just take a deep breath, channel your inner yogi, and focus on one corner at a time.
- 4. Before we fill this beauty up, we need to add a layer of protection and drainage. I love using a layer of hardware cloth (it’s like a sturdy mesh) at the bottom to keep hungry gophers from crashing your garden party. On top of that, you can layer some cardboard to smother any existing grass. It’s like setting a solid foundation for a new business venture—you have to clear out the old clutter before you can grow something spectacular.
- 5. Now comes the most rewarding part: the nutrient infusion! Don’t just grab the cheapest dirt you can find; treat your soil like a high-yield savings account. I suggest a rich mix of compost, organic matter, and topsoil. You want a blend that is loose and airy so your plant roots can expand without any resistance. This is where the magic happens, and honestly, it’s the best way to ensure your hard work actually pays off.
- 6. Finally, it’s time to plant with intention. Whether you’re going for a lush salad bar or a colorful flower bed, space your seedlings out according to their needs. Don’t overcrowd them! Just like in a high-pressure corporate environment, everyone needs a little breathing room to truly thrive. Once they’re tucked in, give them a good drink of water, step back, and take a moment to appreciate the growth you’ve cultivated.
Choosing the Best Wood for Raised Beds and Longevity
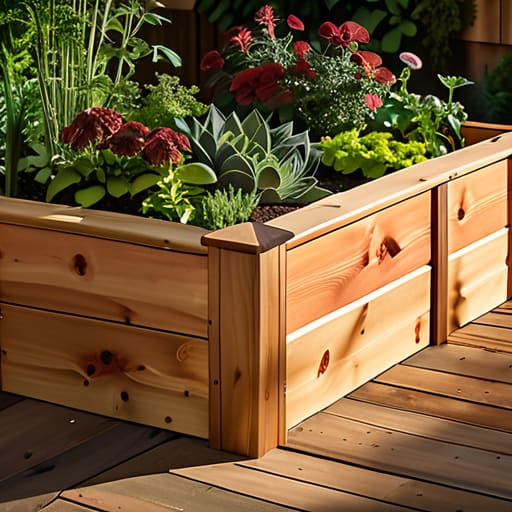
Now, let’s talk about the foundation of your new sanctuary: the wood. I know, choosing lumber feels a bit like picking the right investment portfolio—you want something that offers a great return without a massive upfront headache! When you’re weighing cedar vs pressure treated lumber for gardening, you’re really looking at a trade-off between longevity and cost. Cedar is my absolute favorite because it’s naturally rot-resistant and contains no nasty chemicals, making it a dream for organic growing. It’s a bit pricier, but think of it as a long-term asset for your backyard.
If you’re on a tighter budget, modern pressure-treated wood is much safer than it used to be, but I still prefer the peace of mind that comes with natural materials. Whatever you choose, make sure it’s thick enough to withstand the pressure of all that beautiful, heavy earth. Before you head to the hardware store, double-check your raised garden bed materials list to ensure you aren’t making extra trips. Getting the quality right now means you won’t be rebuilding your entire garden setup in just two seasons!
Mastering the Perfect Raised Bed Soil Mix Ratio
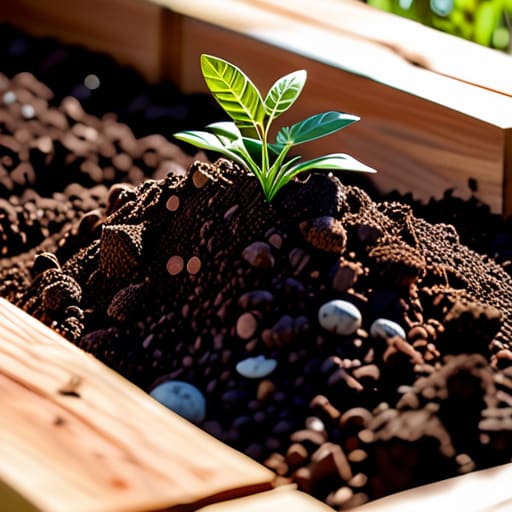
Now that you’ve tackled the heavy lifting of selecting your lumber, let’s talk about the real magic: the dirt. I like to think of your soil as the “retirement fund” for your plants; if you don’t invest in high-quality nutrients now, you’re going to face some serious shortages later! While it’s tempting to just scoop up some dirt from the backyard, that’s a recipe for compaction and poor drainage. To get that lush, thriving garden, you really need to master the raised bed soil mix ratio.
A classic, foolproof formula I swear by is the “one-third rule”: one part high-quality compost, one part organic matter (like coconut coir or peat moss), and one part topsoil. This creates a fluffy, nutrient-dense environment that allows roots to stretch out without feeling suffocated. Think of it as creating the ultimate ergonomic workspace for your veggies. By focusing on this specific blend, you ensure your plants have the perfect balance of aeration and moisture retention, setting the stage for a harvest that feels as rewarding as a promotion!
Beyond the Build: 5 Pro-Tips to Keep Your Garden Growing (and Your Stress Low)
- Location is everything! Before you start hammering, scout your yard for a spot that gets at least six to eight hours of sunlight. Think of it like finding the perfect desk in an office—you wouldn’t want to work in a dark corner, and neither will your veggies!
- Don’t forget the “floor” of your bed. If you’re building on grass, lay down some plain brown cardboard at the bottom first. It’s a total game-changer because it smothers the weeds naturally without you having to spend your weekend tugging at stubborn roots.
- Think about your back! I know, I know, it’s tempting to build them low to the ground, but if you have any joint issues or just want to avoid that post-gardening ache, consider building them slightly higher. Your future self (and your spine) will thank you during harvest time.
- Plan for easy access. There is nothing more frustrating than realizing your garden bed is so wide you can’t reach the middle without stepping into the soil. Keep your beds narrow enough so you can reach everything comfortably from the sides—it keeps the soil aerated and your movements fluid.
- Integrate a little mindfulness into the setup. While you’re organizing your tools, take a deep breath and set an intention for what you want to grow. Whether it’s nourishing herbs for your cooking or bright flowers for your soul, connecting your project to your “why” makes the hard work feel like a reward.
Growing Your Garden (and Your Zen): My Top Three Takeaways
Don’t let the logistics overwhelm you; choosing the right wood and a high-quality soil mix is really just about setting yourself up for long-term success and minimizing future stress.
Think of your raised bed as an investment in your well-being, where the upfront effort pays off in delicious harvests and a much-needed mental escape from the daily grind.
Remember that gardening is a marathon, not a sprint, so build your beds with a focus on durability and nourishment to ensure your little sanctuary thrives for seasons to come.
Cultivating More Than Just Plants
“Building a raised garden bed is a lot like building a career: you need a solid foundation, the right environment to thrive, and a little bit of patience to watch your hard work finally bloom.”
Lena Anderson
Nurturing Your New Garden Sanctuary
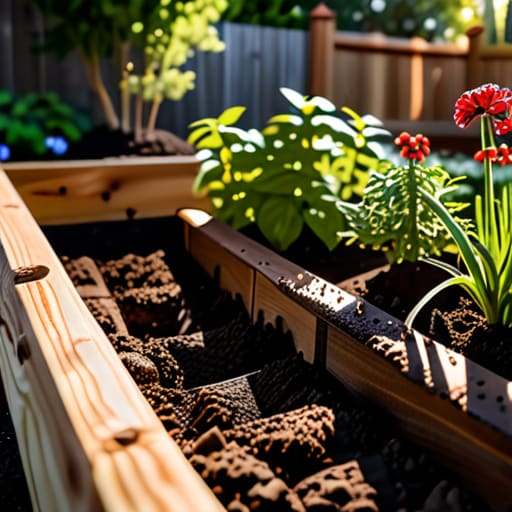
We’ve covered a lot of ground today, from selecting the most durable wood to finding that golden ratio for your soil mix. Building a raised bed is more than just a weekend DIY project; it’s about setting a solid foundation for everything you want to grow. By choosing high-quality materials and investing time into the perfect soil composition, you aren’t just building a box—you are investing in your future harvests. Remember, the prep work you do now is what ensures your garden thrives even when the summer heat kicks in.
As you step back to admire your handiwork, I want you to take a deep breath and really soak in that sense of accomplishment. Just like in my career coaching, I’ve learned that the most beautiful results come from a blend of careful planning and a little bit of soulful intention. Gardening, much like life, isn’t just about the end goal of the harvest; it’s about the peace you find while working in the dirt. So, grab your trowel, embrace the mess, and enjoy the incredible journey of watching your hard work bloom.
Frequently Asked Questions
How do I keep pests like rabbits or slugs from snacking on my new garden before it even gets a chance to grow?
Ugh, the heartbreak of seeing your hard work get devoured overnight! I’ve been there. To protect your investment, think of it like a security system for your soil. For rabbits, a sturdy wire mesh fence is your best friend. For those sneaky slugs, try copper tape around the edges or a little bit of diatomaceous earth. It’s all about setting boundaries so your garden—and your peace of mind—can truly flourish!
Do I really need to line the bottom of my new beds with something, or can I just let the soil touch the ground?
That’s such a great question! It’s tempting to skip a step when you’re eager to start planting, but I’d say a little prep goes a long way. I usually recommend layering some cardboard at the bottom. It smothers weeds naturally without the plastic headache, allowing worms to do their magic while keeping your soil structure intact. Think of it as a little foundation for your garden’s success—just like a solid budget for your finances!
Is it worth the extra investment to install a simple drip irrigation system, or can I just stick to my trusty garden hose?
Think of a drip irrigation system like a high-yield savings account: there’s an upfront cost, but the long-term dividends are massive! While your trusty hose is great for a quick soak, a drip system automates the “work” part of gardening, ensuring consistent hydration without the manual labor. It saves water, prevents disease, and—most importantly—gives you back your precious weekend time. If you’re looking to invest in your peace of mind, go for the drip!