How to Clean Grout and Make Your Tile Look New
 Lena Anderson
I was kneeling on my kitchen floor last Tuesday, staring at those dark, dingy lines between my tiles, feeling that familiar wave of "life is spiraling" overwhelm. It’s funny how a little bit of grime in your home can start to feel like a metaphor for a cluttered mind or a messy budget, right? I used to think that learning how to clean grout required heavy-duty, expensive chemicals that smelled like a science lab and left me feeling totally drained. But after years of chasing corporate milestones and forgetting to breathe, I’ve learned that the secret isn't more intensity; it's about intentionality and the right tools.
In this guide, I’m stripping away the complicated, expensive nonsense to give you a straightforward, stress-free roadmap. I’ll show you exactly how to clean grout using simple methods that actually work, so you can reclaim your space without losing your peace of mind. We’re going to focus on practical, efficient steps that respect both your time and your energy, turning a tedious chore into a small, mindful win for your home and your soul.
Table of Contents
- Step-by-Step Instructions
- The Gentle Art of Deep Cleaning Bathroom Tiles
- Removing Stains From Grout With Kitchen Staples
- Pro-Tips for Keeping Your Space (and Your Sanity) Sparkling
- Finding Your Flow: Small Wins for a Harmonious Home
- Finding Clarity in the Details
- Finding Harmony in the Details
- Frequently Asked Questions
Guide Overview
Tools & Supplies
- Stiff-bristled grout brush or old toothbrush for scrubbing
- Microfiber cloths for wiping and drying
- Baking soda, 1 cup for abrasive cleaning
- White vinegar, 1/2 cup for acidic cleaning
- Warm water, 2 cups for mixing solution
Step-by-Step Instructions
- 1. Before we dive into the heavy lifting, let's start with a little bit of mindful preparation. Clear out any rugs or clutter around your tile area so you have plenty of space to move. I like to think of this as clearing my mental workspace before tackling a big project at the office; once the environment is organized, the task feels so much more manageable.
- 2. Grab a vacuum with a narrow crevice attachment and go over those grout lines thoroughly. You want to suck up all that loose dust and debris sitting in the cracks before we add any liquids. If you skip this, you’ll just end up creating a muddy mess once the cleaning solution hits the floor, and trust me, nobody has time for that.
- 3. Now, let's mix up our "magic potion." Instead of buying those harsh, expensive chemicals that smell like a laboratory, I love using a simple mixture of baking soda and warm water to create a thick paste. If you're dealing with some particularly stubborn stains, a splash of white vinegar can work wonders, but just remember to ventilate the room while you work.
- 4. It’s time to apply the paste! Using an old toothbrush or a dedicated grout brush, gently work the mixture into each line. Don't scrub like you're trying to win a marathon; instead, use steady, rhythmic motions. Think of it like a mini-meditation session—focus on the sensation and the incremental progress you're making with every stroke.
- 5. Let that mixture sit for about 10 to 15 minutes. This is your cue to step away, grab a glass of water, or maybe even do a quick five-minute stretch. Giving the solution time to break down the grime does most of the hard work for you, which is a great lesson in working smarter, not harder.
- 6. Once the time is up, take a damp microfiber cloth or a sponge and wipe away the paste. You'll want to be thorough here to ensure no residue is left behind, as dried paste can actually attract more dirt later on. It’s all about that long-term maintenance to keep your home's energy feeling fresh and clean.
- 7. For that final, professional touch, dry the area completely with a clean towel. This prevents any water spots from forming and gives you that instant sense of accomplishment and clarity. Now, take a moment to step back, admire your hard work, and enjoy the peaceful harmony of your sparkling clean space!
The Gentle Art of Deep Cleaning Bathroom Tiles
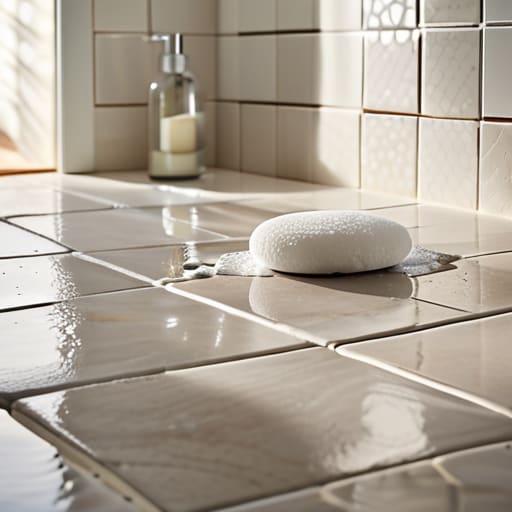
Sometimes, a quick wipe-down just isn't enough to reclaim the sanctuary of your bathroom. When you’re looking at those stubborn, discolored lines, you might feel like you need to roll up your sleeves for a marathon session of heavy labor. But here’s a little secret from my mindfulness practice: you don't have to punish your tiles to see results. If you want to remove stains from grout without losing your zen, try letting the chemistry do the heavy lifting. A simple mixture of baking soda and vinegar for grout can work wonders; just apply it, let it sit, and watch the grime lift away while you take a few deep breaths.
Once you’ve achieved that pristine, sparkling finish, the real magic lies in maintenance. Think of it like a retirement fund—you want to protect what you've worked hard to build! Investing a little time in a proper grout sealer application is the ultimate way to safeguard your hard work. It creates a protective barrier that prevents future moisture and soap scum from seeping in, meaning your next deep clean will be a breeze rather than a chore.
Removing Stains From Grout With Kitchen Staples
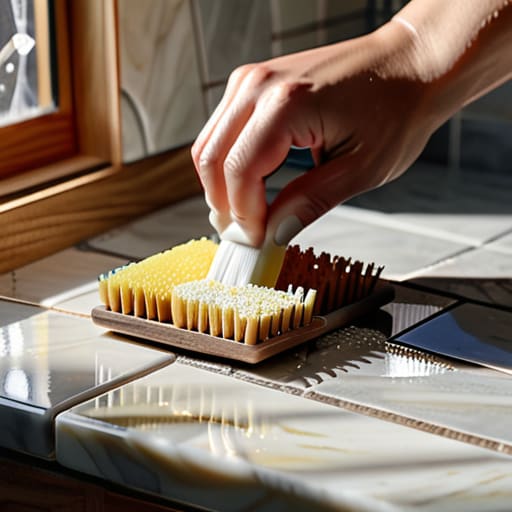
Now, if you’re staring at those stubborn, dark patches in your kitchen or bath and feeling a bit overwhelmed, don't panic! You don't always need to run out and buy a heavy-duty chemical cocktail. In fact, my favorite way to remove stains from grout is often right in my own pantry. There is something so incredibly satisfying about using simple, earth-friendly ingredients to restore your space. It’s a little bit like mindfulness—instead of rushing through a chore with harsh fumes, you’re working in harmony with your home.
One of my absolute go-to moves is the classic combo of baking soda and vinegar for grout. I like to mix the baking soda into a thick paste, spread it over the stained areas, and let it sit for a few minutes. Then, I lightly mist it with white vinegar. It fizzes up like a little science experiment (honestly, it’s kind of therapeutic!), lifting the grime right to the surface. If you’re looking for a way of cleaning grout without scrubbing your fingers raw, this chemical reaction does most of the heavy lifting for you. Just let the ingredients do the work while you take a deep breath and enjoy a quick cup of tea.
Pro-Tips for Keeping Your Space (and Your Sanity) Sparkling
- Don't go overboard with the chemicals; sometimes a gentle scrub with a soft-bristled brush is more effective—and much kinder to your lungs—than a cocktail of harsh cleaners.
- Think of grout sealing as an investment in your future self; applying a good sealer once the grout is clean will save you hours of scrubbing down the road.
- Use a toothbrush for those tricky little corners where dirt likes to hide, turning a tedious chore into a small, focused moment of mindfulness.
- Always do a quick little patch test in an inconspicuous spot before you commit to a new cleaning solution, just to make sure your beautiful tiles stay happy and healthy.
- Consistency is your best friend here; a quick five-minute wipe-down once a week keeps the grime from ever getting a foothold, meaning you won't have to face a massive cleaning mountain later.
Finding Your Flow: Small Wins for a Harmonious Home
Think of grout cleaning not as a dreaded chore on your to-do list, but as a mindful ritual to refresh your space and clear your mental clutter.
You don't need a massive budget or fancy chemicals to see results; sometimes, the most effective tools for a sparkling home are already sitting right in your kitchen pantry.
Consistency is your best friend—tackling small cleaning tasks regularly prevents overwhelm and helps you maintain a sense of calm and control in your environment.
Finding Clarity in the Details
"Think of cleaning your grout not as another chore on your endless to-do list, but as a moment of mindfulness—scrubbing away the grime to reveal the clean lines underneath is a lot like clearing out the mental clutter to make room for new opportunities."
Lena Anderson
Finding Harmony in the Details
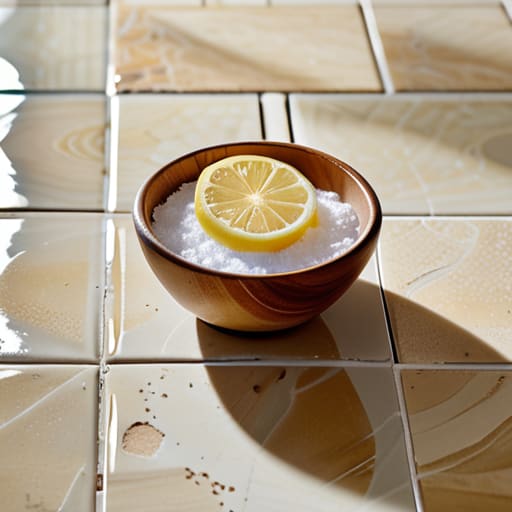
As we wrap up this little cleaning journey, I hope you feel a sense of accomplishment! We’ve covered everything from using gentle, deep-cleaning techniques for your bathroom to tapping into the magic of your pantry with those kitchen staples we all have on hand. Whether you chose a heavy-duty approach or a more mindful, low-impact method, the goal was never just about scrubbing lines; it was about reclaiming the brightness of your living space. Remember, maintaining your home doesn't have to be a grueling chore that drains your energy. By staying consistent with these small, manageable steps, you ensure that your environment stays as clear and refreshed as your own mind.
At the end of the day, I want you to remember that how we care for our surroundings often mirrors how we care for ourselves. Just like managing a budget or navigating a career pivot, home maintenance is all about small, intentional actions that compound over time. Don't let a little bit of grime make you feel overwhelmed; instead, view these moments as a chance to ground yourself and find peace in the process. You’ve done the hard work, and now you can step back, take a deep breath, and truly enjoy the beauty of a space that feels whole again. You've got this!
Frequently Asked Questions
How often should I actually be deep cleaning my grout to keep it looking fresh without burning myself out?
Think of your grout like your career goals: consistency beats intensity every single time. I always tell my clients that burnout happens when we try to do everything at once. For your home, aim for a light refresh once a month to keep things manageable. Then, schedule a deeper dive every six months. It’s all about finding that sweet spot where your space shines, but you’re still finding time for your yoga mat!
Are there any specific natural cleaners I should avoid if I have pets or little ones running around the house?
That is such a thoughtful question! When you have little explorers or furry friends roaming the floors, safety is everything. While I love a good DIY solution, I’d steer clear of concentrated essential oils like tea tree or peppermint, as they can be tricky for pets. Also, even though it's natural, skip the heavy vinegar splashes if your little ones have sensitive skin. Stick to gentle baking soda pastes—they're safe, effective, and totally stress-free!
Once I've finally gotten it sparkling clean, is there a way to seal it so I don't have to do this whole intensive process again so soon?
Oh, I hear you! After all that hard work, the last thing you want to do is dive right back into the scrubbing. The secret to keeping that glow is sealing your grout. Think of it like a protective shield for your peace of mind! You can grab a high-quality penetrating sealer at any hardware store. It fills those tiny pores so dirt and grime can't settle in, making your future cleanups a total breeze.