I was sitting on my kitchen floor last Tuesday, surrounded by half-empty paint cans and feeling a sudden, overwhelming urge to just give up. We’ve all heard the myth that you need a massive renovation budget or a professional crew to fix a dated kitchen, but let me tell you the truth: learning how to paint kitchen cabinets is actually one of the most rewarding ways to reclaim your home without breaking the bank. It’s not just about a fresh coat of color; it’s about the intentionality of transforming a space that feels stagnant into one that truly breathes with your personal style.
In this guide, I’m stripping away the fluff and giving you the exact, no-nonsense roadmap I used to turn my own cramped apartment kitchen into a sanctuary. We aren’t just slapping paint on wood and hoping for the best; we are going to talk about the essential prep work and the professional techniques that ensure your hard work actually lasts. Whether you’re a total DIY novice or just someone looking to find a little creative flow, I promise to help you master how to paint kitchen cabinets with confidence, grace, and maybe even a little bit of rhythm.
Table of Contents
- Step-by-Step Instructions
- The Art of Preparation How to Prep Cabinets for Painting
- Finding Your Flow Choosing the Best Paint for Kitchen Cabinets
- Small Wins, Big Impact: 5 Pro-Tips for a Stress-Free Cabinet Refresh
- Bringing It All Together: Your Path to a Refreshing Kitchen
- More Than Just a Fresh Coat
- Your Newly Refreshed Sanctuary
- Frequently Asked Questions
Guide Overview
Tools & Supplies
- Screwdriver or drill to remove hardware
- Sandpaper (various grits) for smoothing surfaces
- High-quality angled brush for edges
- Small foam roller for smooth finishes
- Drop cloths to protect floors and counters
- TSP or degreaser to clean cabinets
- Cabinet primer (1-2 gallons depending on size)
- Cabinet-grade paint (1-2 gallons)
- Painter's tape for clean lines
- Microfiber cloths for dust removal
Step-by-Step Instructions
- 1. First things first, we need to clear the decks—literally. Empty out your cabinets and remove all the hardware, including those pesky little screws and hinges. I like to think of this as decluttering your mental space before a big project. Pro tip: Grab some small labeled bags or even muffin tins to keep all your screws organized. There is nothing more soul-crushing than being halfway through a DIY project and realizing you’ve lost the hardware for your pantry!
- 2. Now, let’s talk about the “un-glamorous” but vital step: cleaning. Kitchen cabinets are magnets for grease and mystery residue, and if we don’t get that off, your beautiful new paint will peel faster than a bad habit. Use a heavy-duty degreaser to scrub every inch of the wood. Think of this as setting a clean foundation for your transformation. If the surface isn’t spotless, the rest of your hard work won’t stick.
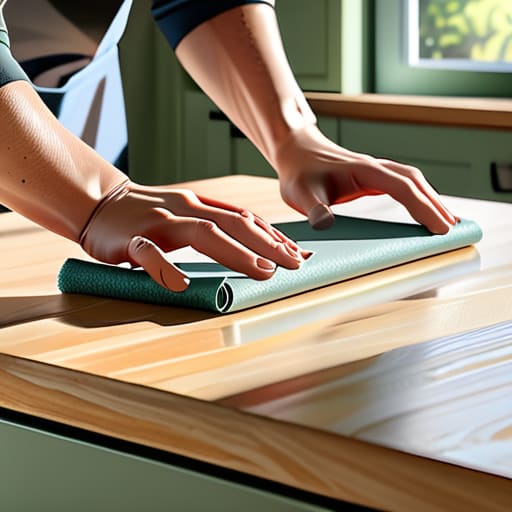
- 3. Once they are bone-dry, it’s time to sand. You don’t need to strip the wood down to the grain, but you do need to scuff up that factory finish so the primer has something to grab onto. Use a medium-grit sandpaper and work in smooth, rhythmic motions—kind of like a slow yoga flow for your arms. This ensures the paint bonds perfectly rather than just sitting on top like a temporary guest.
- 4. Next up is the magic ingredient: primer. Don’t skip this step to save time; I promise your future self will thank you! Apply a high-quality, stain-blocking primer to seal the wood and create a uniform surface. I always tell my clients that skipping primer is like trying to build a business without a budget—it might look okay for a second, but it’s going to fall apart when things get real.
- 5. Now for the fun part—the actual painting! Use a high-quality brush for the intricate corners and a small foam roller for the flat surfaces to avoid those annoying brush marks. I recommend doing two thin coats rather than one thick, gloppy one. It takes a little longer, but it results in a professional, velvety finish that you’ll be proud to show off every time you make your morning coffee.
- 6. While you wait for the paint to dry, take a deep breath and maybe step away for a quick meditation. Patience is your best friend here. Let the cabinets dry completely according to the manufacturer’s instructions before you even think about touching them. Rushing this stage is the fastest way to end up with fingerprints in your fresh finish.
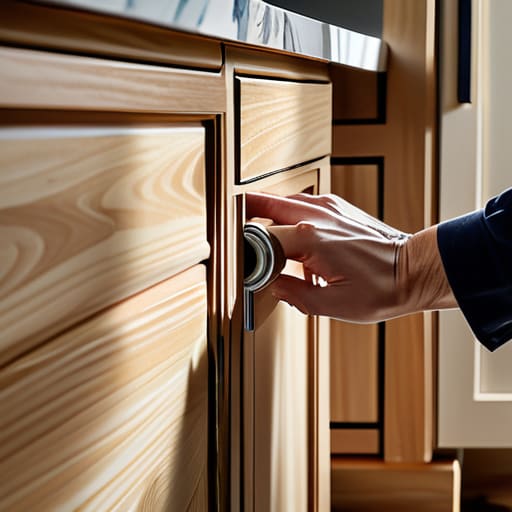
- 7. Finally, once everything is totally cured, it’s time for the grand reveal: reinstalling your hardware. This is where your kitchen really starts to feel like “you” again. Take your time aligning the handles and hinges, and as you screw them back in, take a moment to celebrate your progress. You didn’t just paint some wood; you reclaimed your space and invested in your home!
The Art of Preparation How to Prep Cabinets for Painting
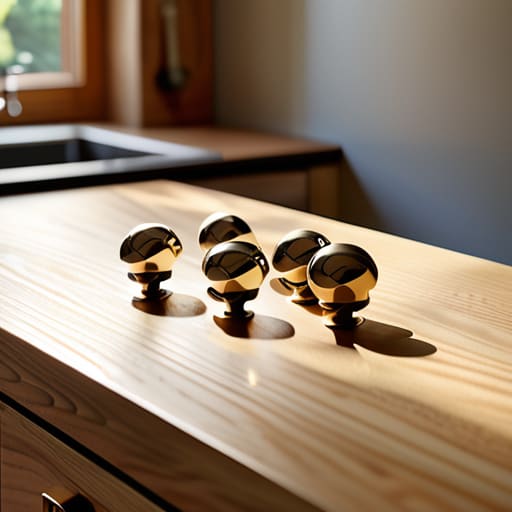
Think of this stage as your morning mindfulness practice—it might feel like a lot of groundwork, but it’s what sets the tone for everything that follows. You can’t expect a serene, polished result if you rush through the messy parts. Before you even touch a brush, you need to commit to removing cabinet hardware for painting. It’s tempting to just paint around the knobs, but trust me, that’s a recipe for a cluttered look. Take the time to bag those screws and organize your handles; it’s a small act of intention that pays off tenfold when you see that seamless finish later.
Once the hardware is out of the way, it’s time to get down to the real heavy lifting. When learning how to prep cabinets for painting, the golden rule is all about the surface. You aren’t just cleaning; you are creating a canvas. This means deep cleaning to remove every trace of grease and lightly sanding to ensure your new layer actually sticks. If you skip this, you’re essentially building your success on a shaky foundation, and in both finance and home DIY, we definitely want to avoid that!
Finding Your Flow Choosing the Best Paint for Kitchen Cabinets
Now that your surfaces are prepped and pristine, it’s time for the most exciting part: picking your colors! Think of this like choosing the right outfit for a big career move—you want something that feels authentic to you but is also durable enough to handle the daily grind. When you’re hunting for the best paint for kitchen cabinets, I always suggest looking specifically for formulas designed for high-traffic areas. You aren’t just looking for a pretty shade; you need something with a hard, resilient finish that can withstand spills, bumps, and the occasional midnight snack run without losing its luster.
If you’re feeling a bit overwhelmed by the options, don’t sweat it. You might find yourself debating between spray painting vs brushing cabinets, which is a classic dilemma! Spraying can give you that ultra-smooth, professional factory finish, while brushing or rolling offers more control and a much smaller footprint for your DIY setup. Just remember to check your cabinet primer and topcoat guide before you commit to a specific brand. Getting the chemistry right between your primer and your final coat is the secret sauce to a finish that actually lasts.
Small Wins, Big Impact: 5 Pro-Tips for a Stress-Free Cabinet Refresh
- Don’t rush the drying game. I know, I know—you want to see that beautiful new color immediately, but patience is your best friend here. If you apply a second coat too soon, you’re basically inviting a sticky disaster that’ll ruin your momentum (and your mood!).
- Invest in high-quality rollers. Think of it like investing in a good yoga mat; you wouldn’t want to practice on something slippery and cheap, right? A high-density foam roller will give you that smooth, professional finish without the annoying brush strokes.
- Keep a “Zen Zone” around your workspace. Painting can get messy, and a cluttered environment leads to a cluttered mind. Lay down drop cloths and clear off the counters completely so you can focus on the flow of your work rather than tripping over clutter.
- Remember the “Thin Layers” rule. It’s much better to do three whisper-thin coats than one thick, gloppy one. Thick paint leads to drips, and drips lead to frustration—and we are definitely not about that life today!
- Take a “Mindful Minute” between steps. If you feel your frustration rising because a door isn’t hanging quite right, step away. Grab a tea, do a quick breathing exercise, and come back with fresh eyes. Your kitchen deserves your best energy, not your stress!
Bringing It All Together: Your Path to a Refreshing Kitchen
Remember that patience is your best friend here; rushing through the prep or the drying stages is the quickest way to lose that zen feeling and end up with a finish you aren’t proud of.
View this project as more than just a DIY task—it’s an investment in your home’s energy and a way to reclaim your space, much like how a solid financial plan or a morning yoga flow builds a foundation for long-term success.
Don’t be afraid to embrace the learning curve, because whether you’re mastering a new paint technique or navigating a career pivot, the most beautiful results come from staying intentional and enjoying the process along the way.
More Than Just a Fresh Coat
“Painting your kitchen cabinets isn’t just about a home makeover; it’s about reclaiming your space and finding that sweet spot where creativity meets a sense of calm in the heart of your home.”
Lena Anderson
Your Newly Refreshed Sanctuary
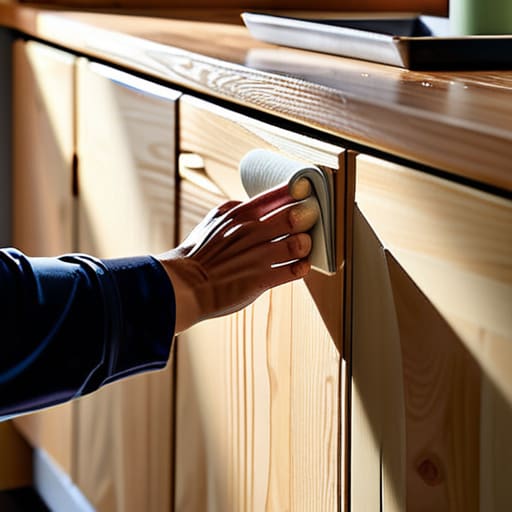
We’ve covered a lot of ground together, from the meticulous cleaning and sanding required during prep to the high-stakes decision of selecting the perfect, durable finish. It’s easy to feel a little overwhelmed by the sheer number of steps, but remember that every bit of effort you put into that surface preparation is what ensures your hard work actually lasts. By focusing on a steady pace rather than rushing to the finish line, you’ve laid the groundwork for a kitchen that doesn’t just look beautiful, but feels fundamentally renewed. You’ve mastered the technical side, and now you’re ready to see that transformative change come to life right before your eyes.
As you step back to admire your handiwork, I want you to take a deep breath and really soak in the moment. This project was about more than just a fresh coat of paint; it was about taking agency over your environment and creating a space that brings you peace. Whether you’re sipping your morning coffee or cooking a nourishing meal, let this kitchen be a reminder that you have the power to cultivate joy in the small, everyday details of your life. You didn’t just paint cabinets—you reclaimed your space, and that is a massive win for your soul.
Frequently Asked Questions
How long do I actually need to wait before I can start using my kitchen again without ruining the finish?
The million-dollar question! While your cabinets might feel dry to the touch in a few hours, patience is your best friend here. To avoid those dreaded sticky spots, I recommend waiting at least 48 to 72 hours before heavy use. Ideally, give them a full week to “cure” completely. Think of it like a mindfulness practice—rushing the process only leads to stress. Let them settle so your hard work stays beautiful!
Is it worth investing in a professional sprayer, or can I get a smooth, high-end look just using brushes and rollers?
Honestly, it’s all about your goals and your budget! If you’re chasing that flawless, factory-smooth finish, a sprayer is a total game-changer. It’s like the difference between a quick yoga flow and a deep, intensive meditation session—one is efficient, the other is transformative. That said, you can achieve a high-end look with quality brushes and a microfiber mini-roller if you take your time. Just embrace the process and don’t rush the layers!
What should I do if I realize I've missed a spot or if the paint starts looking uneven halfway through the project?
Deep breaths—first, let’s center ourselves. If you spot a missed spot or an uneven patch, don’t panic! It’s not a failure; it’s just a pivot. If the paint is still wet, lightly feather in the edges with a clean brush. If it’s already dried, wait for it to fully cure before a light sand and a fresh coat. Think of it as adding a little extra intention to your masterpiece!