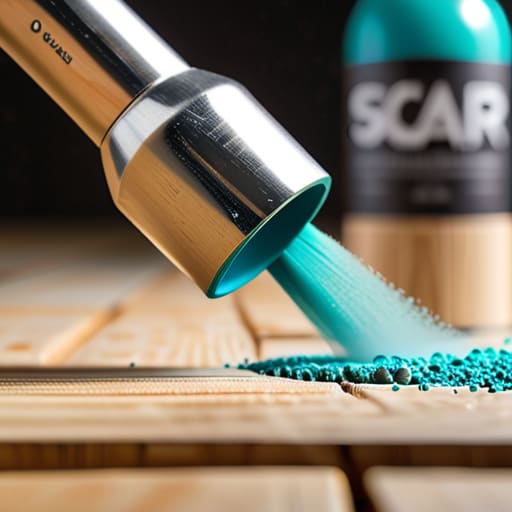
I was standing in my tiny Brooklyn apartment, staring at a thrifted, mid-century modern chair that looked more like a piece of junk than a design statement, feeling completely defeated. I had watched a dozen tutorials on how to spray paint, but my first attempt ended in a sticky, drip-filled disaster that looked less like “chic makeover” and more like a crime scene. It’s a common myth that you just grab a can, shake it, and pray for the best, but I learned the hard way that success is actually about the prep work and the rhythm you find.
In this guide, I’m stripping away the fluff and giving you the real, no-nonsense roadmap to mastering your DIY projects. I’ll walk you through everything from choosing the right surface primer to perfecting that elusive, smooth finish without the dreaded runs. Whether you’re looking to refresh your home decor on a budget or just want to find a creative outlet to decompress after a long week of spreadsheets, I’ve got you covered. Let’s turn that “eye-sore” into your new favorite piece of furniture!
Table of Contents
- Step-by-Step Instructions
- Finding Your Flow With the Best Spray Paint for Diy Projects
- Perfecting Surface Preparation to Build a Foundation for Success
- Five Golden Rules for a Flawless Finish (Without the Stress!)
- Bringing It All Together: Your Roadmap to a Flawless Finish
- ## The Art of the Finish
- The Final Stroke: Embracing Your Creative Success
- Frequently Asked Questions
Guide Overview
Tools & Supplies
- Spray paint cans for your chosen color
- Drop cloths or newspaper to protect surfaces
- Sandpaper for smoothing the surface
- Masking tape to define edges
- Primer spray for surface adhesion
- Clear coat for a protective finish
- Cleaning cloth and degreaser to prep the item
Step-by-Step Instructions
- 1. First things first, we need to talk about your workspace. Just like setting up a focused morning meditation, you need a space where you won’t be interrupted by a mess. Find a well-ventilated area—outdoors is my absolute favorite—and lay down some old newspapers or a drop cloth. You want to protect your surroundings so you can truly focus on the creative process without worrying about a permanent neon pink stain on your patio.
- 2. Next, let’s prep your canvas. Whether it’s an old wooden chair or a metal lamp, you’ve got to give it a little TLC. Use some fine-grit sandpaper to smooth out any rough patches or old, flaking paint. If you skip this, the new coat won’t “bond” with the surface, and we want your project to be a long-term success, not a temporary fix that peels away in a week.
- 3. Now, it’s time for the deep clean. Wipe everything down with a damp cloth or a bit of rubbing alcohol to remove every last speck of dust and oil. Think of this like clearing your mental clutter before a big presentation; you want a completely clean slate so the paint can settle perfectly.
- 4. Before you even touch the can, give it a good shake. I’m talking a solid two minutes of vigorous shaking. This ensures all the pigments and propellants are perfectly mixed. If you’ve ever felt like your finances were a bit disorganized, you know that proper preparation is the secret sauce to everything working smoothly later on.
- 5. When you’re ready to spray, keep your distance. Hold the can about 8 to 12 inches away from the object. Start your spray just off to the side of the item and sweep it across in a steady, even motion. This prevents that dreaded “first-second drip” that happens when you concentrate all the paint in one spot right at the start.
- 6. This is the golden rule: thin coats are your best friend. It is so tempting to try and cover everything in one go, but that’s a recipe for a runny disaster. Apply multiple, light layers instead. It’s a lot like building a solid retirement fund—it’s all about those consistent, small contributions that eventually lead to a beautiful, finished result.
- 7. Finally, patience is a virtue. Once you’ve finished your last light coat, let the piece dry completely in a dust-free area. Resist the urge to touch it or move it too soon! Give it the time it needs to settle, and soon you’ll have a stunning piece of decor that brings a little extra joy to your home.
Finding Your Flow With the Best Spray Paint for Diy Projects
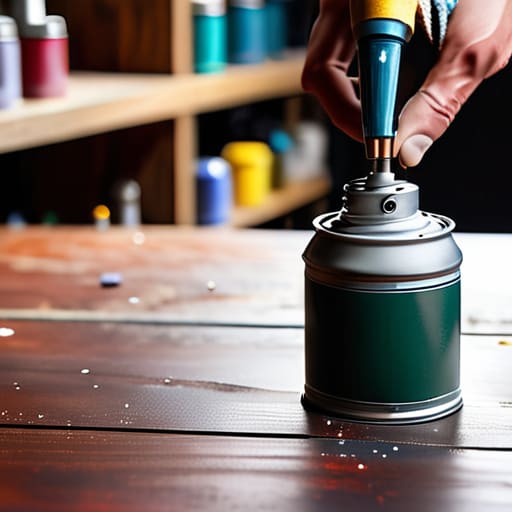
Choosing the right supplies is a lot like choosing the right career path—it’s all about finding that perfect alignment between your vision and your tools. If you want that professional, high-end finish, you really need to invest in the best spray paint for DIY projects rather than grabbing the cheapest can on the shelf. I always tell my clients that cutting corners early on usually leads to more stress later. Think of it like a financial budget; a little more upfront investment in quality pigment means you won’t be spending your weekend frantically trying to fix uneven patches or lackluster colors.
Before you even think about pressing that nozzle, don’t skip the groundwork. I can’t stress enough how vital spray paint surface preparation is to your ultimate success. A quick sand and a clean surface act as the foundation for your entire project. And hey, if you’re feeling a little nervous about the technical side, just remember: patience is your best friend. Whether you’re waiting for the right drying time or carefully applying layers to avoid those dreaded runs, staying mindful and steady will turn your DIY session into a moment of pure, creative flow.
Perfecting Surface Preparation to Build a Foundation for Success
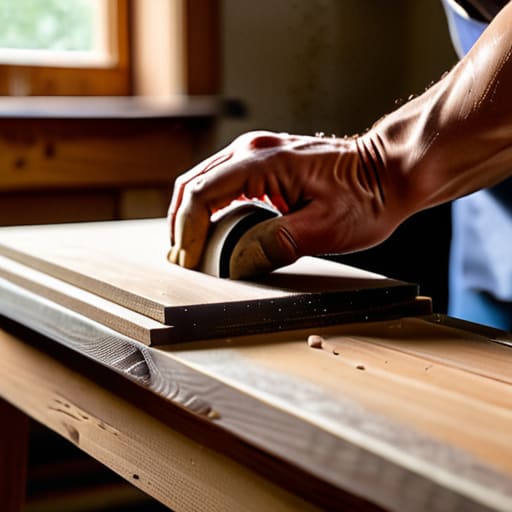
Think of surface preparation like setting your intentions before a deep meditation session; if your foundation isn’t clear, the rest of the practice just won’t flow. You wouldn’t dream of building a corporate empire on shaky ground, so don’t try to build a beautiful finish on a dusty, uneven surface! Before you even touch that nozzle, you need to scrub away every trace of grime or old oil. I always tell my clients that patience in the prep phase is what separates a professional finish from a DIY disaster.
Once you’ve got a clean slate, it’s time to talk about how to use spray paint primer effectively. A good primer acts like a career mentor—it bridges the gap between where you are and where you want to be, ensuring the color actually sticks. Don’t skip this! It’s also the secret weapon for preventing spray paint drips later on, as it creates a smooth, uniform texture for your topcoat to grab onto. Take your time, sand lightly if needed, and remember: a little extra work now means a lot more joy when you see that stunning, seamless result.
Five Golden Rules for a Flawless Finish (Without the Stress!)
- Master the “Sweep and Flow”: Think of your spray can like a rhythmic yoga movement. Instead of focusing on one spot, keep your arm moving in long, steady, sweeping motions. If you stop moving, you’ll end up with a drip, and we are all about that smooth, continuous energy here!
- Mind Your Distance: Just like setting boundaries in your professional life, you need to give your paint some space. Hold the can about 8 to 12 inches away from your project. Too close and you’ll get those messy runs; too far and you’ll end up with a grainy, sandy texture that’s a total headache.
- Layer Like a Pro (Thin is In!): It is so tempting to try and cover everything in one go, but resist that urge! I always tell my clients: slow and steady wins the race. Apply several light, thin coats rather than one heavy one. It takes a little more patience, but the result is a professional, even finish that looks like a million bucks.
- Don’t Forget the “Ventilation Vibe”: Safety first, always! Spray painting can get a bit intense for your lungs, so make sure you’re working in a well-ventilated area—ideally outdoors or near a big open window. Grab a mask, get some fresh air, and keep that headspace clear while you work.
- The Shake-Up Session: Before you even think about pressing that nozzle, give your can a good, vigorous shake for at least a full minute. You want those pigments perfectly blended so your color is consistent from the first spray to the last. It’s all about that foundational prep!
Bringing It All Together: Your Roadmap to a Flawless Finish
Treat your prep work like your morning meditation—it might feel like just another step, but it’s the foundation that keeps everything from falling apart later!
Don’t rush the process; much like managing a budget or a career transition, success in spray painting comes from steady, intentional layers rather than trying to do everything all at once.
Embrace the creative flow by choosing tools that inspire you, because when you actually enjoy the “work,” the results always feel a lot more rewarding.
## The Art of the Finish
“Think of spray painting just like building a career: it’s not about how fast you can cover the surface, but about the patience you show in the layers, ensuring every stroke is intentional and every finish is something you’re truly proud to stand behind.”
Lena Anderson
The Final Stroke: Embracing Your Creative Success
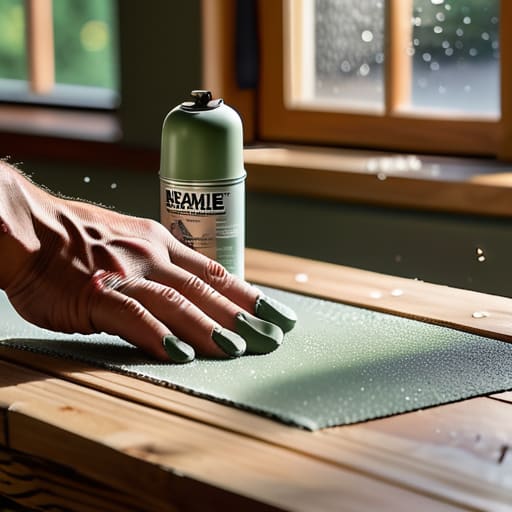
As we wrap up this little DIY adventure, remember that mastering the spray can is a lot like managing a portfolio—it’s all about the preparation and the execution. We’ve covered how to select the right tools to find your flow, and we’ve emphasized that a solid foundation through meticulous surface prep is what prevents those messy, expensive mistakes later on. By applying light, even layers and respecting the drying time, you aren’t just painting an object; you are investing in the quality of your finished product. Just like in my finance days, the magic happens when you respect the process and don’t try to rush the results.
At the end of the day, I want you to look at your newly transformed piece and feel that rush of pure, unadulterated joy. Whether you’re upcycling an old side table or refreshing a piece of decor, remember that this is about more than just aesthetics—it’s about reclaiming your time and nurturing your creative spirit. Don’t let the fear of a little drip hold you back from trying something new. Success, in art and in life, comes from the courage to pick up the brush (or the can!) and simply begin. Now, go out there, get a little messy, and make something beautiful!
Frequently Asked Questions
How do I know if I’m using too much or too little paint to avoid those dreaded drips?
Think of it like pacing yourself during a morning yoga flow—you want steady, controlled movement, not a frantic rush! If you’re seeing heavy runs, you’re likely hovering too close or staying in one spot too long. If the color looks streaky or translucent, you’re being too timid. Aim for that “sweet spot” of even, misty coverage. Remember: multiple light, sweeping layers are always better than one thick, messy coat!
Is it worth investing in a high-end spray paint, or can I get great results with the budget-friendly stuff from the local hardware store?
Think of it like investing in a career: sometimes you want the budget-friendly entry-level role, but high-end tools are a total game-changer for your long-term ROI. While hardware store basics work for quick fixes, premium paint offers better coverage and smoother finishes with way less stress. If you’re tackling a big project, treat yourself to the good stuff! It saves you time and frustration, and honestly, your zen (and your furniture) will thank you.
What’s the best way to handle the cleanup and safety side of things so I don't end up with a messy workspace or a headache?
Think of cleanup like your post-yoga cooldown—it’s essential for keeping your headspace (and your home!) clear. First, safety is non-negotiable: always wear a respirator and work in a well-ventilated area. Don’t let those fumes cloud your vision! For the mess, lay down drop cloths before you even touch a can. Once you’re done, seal your cans tightly and wipe down tools immediately. A clean workspace equals a clear mind!