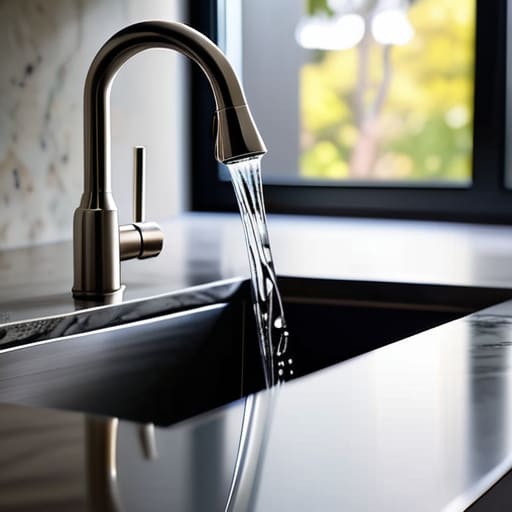
There I was, sitting on my bathroom floor at 2:00 AM, trying to find my zen through a guided meditation app, only to be interrupted by that rhythmic, maddening drip… drip… drip… echoing off the tiles. It felt like the faucet was mocking my attempt at mindfulness! We often think that learning how to fix a leaky faucet requires a professional plumber and a massive budget, but honestly? That’s just a myth that keeps us stressed and broke. In reality, most of these little leaks are just a tiny mechanical hiccup that you can tackle yourself with a bit of patience and the right mindset.
I’m not going to overwhelm you with a hundred different tools or complex jargon that sounds like a finance textbook. Instead, I’m going to walk you through a straightforward, step-by-step approach to reclaiming your peace and your plumbing. We’ll dive into the actual mechanics of the fix so you can stop the noise, save some hard-earned cash, and finally get back to your much-needed work-life balance. Let’s turn that chaotic dripping into a moment of total accomplishment!
Table of Contents
- Step-by-Step Instructions
- Uncovering the Common Causes of Leaking Faucets
- Essential Plumbing Tools for Faucet Repair and Renewal
- Pro-Tips for a Stress-Free Repair (And a Calmer Mind)
- Final Thoughts: Finding Your Flow (and Saving Your Cash)
- Finding Your Flow Again
- Finding Your Flow Again
- Frequently Asked Questions
Guide Overview
Tools & Supplies
- Adjustable wrench for loosening nuts
- Screwdriver (Phillips or flathead) for removing handles
- Allen wrench for removing set screws
- Replacement washers or O-rings (1 set)
- Plumber's grease (1 small tube)
Step-by-Step Instructions
- 1. First things first, we need to shut off the water supply so you don’t end up with a mini indoor pool in your kitchen. Look under the sink for the shut-off valves and turn them clockwise until they’re tight. Once that’s done, open the faucet handles to drain any remaining water left in the lines. Think of it like clearing your mental workspace before starting a big project—you need a clean slate to work effectively.
- 2. Now, let’s get to the “why” behind the drip by taking the faucet apart. Grab an adjustable wrench and carefully remove the decorative cap or the handle screw. You might need to be a little gentle here; we’re looking for precision, not force. Once the handle is off, you’ll see the stem or the cartridge. This is where the magic happens, and it’s also where the culprit is likely hiding.
- 3. Once you’ve pulled out the stem or cartridge, take a close look at the O-rings and washers. These little rubber components are usually the ones that have worn down over time, much like how we feel when we skip our yoga practice for too long! If they look cracked, flattened, or even just a bit “tired,” it’s time to swap them out for fresh ones.
- 4. Before you head to the hardware store, I highly recommend taking the old parts with you. I know, it feels a little unorganized, but trust me, it’s the best way to ensure you get an exact match. There is nothing more frustrating than spending your Saturday afternoon running back and forth to the store because you bought a washer that’s just a hair too big.
- 5. After you’ve grabbed your new parts, it’s time for the assembly phase. Clean out any mineral buildup or debris from the faucet body using a bit of white vinegar—it’s like a mini detox for your sink! Slide the new O-rings or the new cartridge into place, making sure everything is seated snugly and correctly.
- 6. Now, let’s put it all back together in the reverse order you took it apart. Tighten the screws and replace the handles, but remember: don’t over-tighten! Just like in a meditation session, you want to find that “sweet spot” of firmness without causing unnecessary tension or damage to the hardware.
- 7. Finally, the moment of truth! Slowly turn your water supply valves back on and watch that faucet. If you’ve done everything right, that annoying drip should be gone, leaving you with nothing but a peaceful, quiet sink. Take a deep breath, enjoy the silence, and give yourself a little pat on the back for tackling this task!
Uncovering the Common Causes of Leaking Faucets
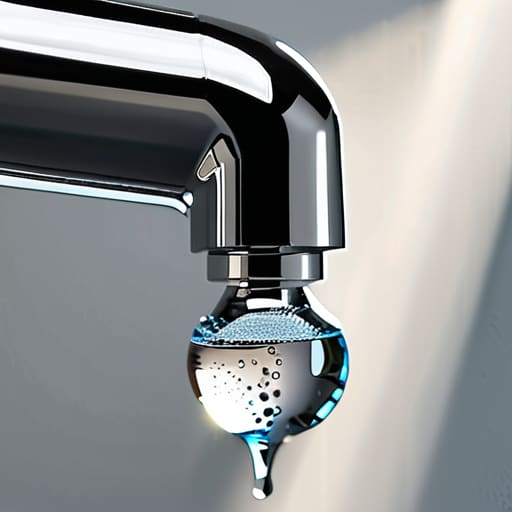
Now, before you dive into the actual repair, let’s play detective for a second. Understanding the “why” behind the drip can save you so much unnecessary stress (and a few trips to the hardware store). Most of the time, we are looking at the common causes of leaking faucets, which usually boil down to wear and tear on those tiny internal components. It’s a lot like when we feel a bit of burnout at work; it usually starts with a small, ignored symptom that eventually turns into a major headache if you don’t address it early!
Often, the culprit is a worn-out seal or a degraded washer that just can’t hold back the pressure anymore. If you have a more modern setup, you might be looking at a more complex cartridge faucet replacement scenario. Don’t let the technical jargon intimidate you, though! Whether it’s a simple task to replace faucet washer components or something requiring a more detailed faucet valve repair guide, knowing whether your issue is a loose handle or a failing internal cartridge is half the battle won. Once you identify the source, you can approach the fix with total confidence.
Essential Plumbing Tools for Faucet Repair and Renewal
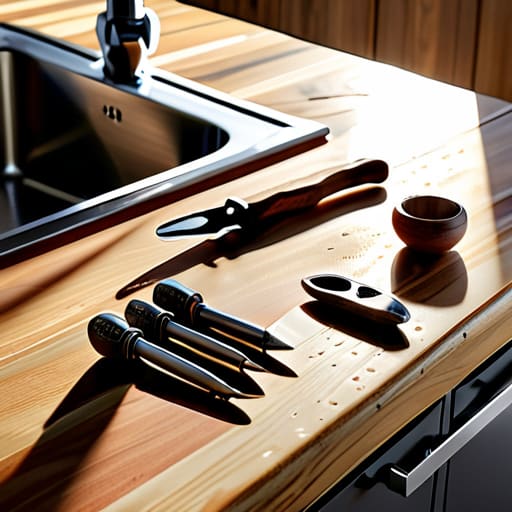
Before you dive into the actual repair, let’s talk about your “survival kit.” I always tell my clients that just like preparing for a big career pivot, you wouldn’t want to walk into a boardroom without your notes—so don’t walk into your kitchen without the right plumbing tools for faucet repair. You’ll definitely want a reliable adjustable wrench, a set of screwdrivers, and some needle-nose pliers. If you’re dealing with a more modern setup, having a specialized cartridge puller on hand can save you a massive amount of frustration during your cartridge faucet replacement steps.
Now, here’s a little pro-tip from my side of the sink: grab a small container or even a coffee mug to hold all those tiny screws and springs. There is nothing more stressful than losing a washer under the cabinet when you’re just trying to stop dripping sink tap chaos! Also, if you’re planning to replace faucet washer components, I highly recommend picking up a small tub of plumber’s grease. It’s a tiny investment that makes the whole process smoother and helps your new parts last much longer.
Pro-Tips for a Stress-Free Repair (And a Calmer Mind)
- Don’t skip the “shut-off” step; turning off the water valves before you dive in prevents a sudden indoor monsoon that’ll totally wreck your zen.
- Take photos of every single part as you disassemble it, because let’s be real, trying to remember where that tiny washer goes when you’re frustrated is a recipe for a headache.
- Treat your tools with respect and clean them after use; a little maintenance on your gear makes the whole process feel much more intentional and smooth.
- If you find yourself getting heated by a stubborn screw, step away for five minutes of deep breathing—it’s much better to pause than to force it and strip the hardware.
- Think of this as a small investment in your home’s “financial health”; fixing a leak now saves you a massive chunk of change on your water bill and prevents costly damage down the road.
Final Thoughts: Finding Your Flow (and Saving Your Cash)
Don’t let a small drip turn into a major financial drain; tackling a leaky faucet early is one of the simplest ways to protect your budget and your peace of mind.
Remember that having the right tools isn’t just about the job—it’s about approaching the task with confidence so you can resolve the issue without unnecessary stress.
Mastery over your home environment is just another way to practice mindfulness; once that leak is fixed, you can breathe easier and get back to focusing on what truly matters.
Finding Your Flow Again
“Just like a cluttered calendar or an unbalanced budget, a leaky faucet is just a small signal that something needs a little recalibration; once you fix the drip, you stop the drain on your peace and your pocketbook, letting the harmony flow back into your home.”
Lena Anderson
Finding Your Flow Again
We’ve covered a lot of ground today, from identifying those pesky worn-out washers to gathering the right tools to get the job done. Fixing a leaky faucet might seem like just another item on your endless to-do list, but by tackling the root causes—whether it’s a faulty cartridge or a loose O-ring—you’ve effectively stopped the literal and financial drain on your household. Remember, a little bit of maintenance now prevents a massive headache (and a much higher water bill) later. You’ve successfully navigated the technical hurdles, and now you can finally enjoy the quiet satisfaction of a home that functions exactly as it should.
Beyond the plumbing, I want you to take a moment to appreciate what this small victory actually represents. In my coaching practice, I always tell my clients that big transformations are just a collection of small, intentional wins. Fixing that drip isn’t just about home repair; it’s about reclaiming your environment and proving to yourself that you have the agency to restore harmony whenever things feel a bit out of sync. Take a deep breath, enjoy the silence of a drip-free sink, and carry that same sense of capability into your career and your personal life. You’ve got this!
Frequently Asked Questions
I've tried tightening the handles, but the drip won't stop—could it be a problem with the internal cartridge instead?
Ugh, that relentless drip, drip, drip is the absolute worst for your peace of mind, isn’t it? If tightening the handles didn’t do the trick, then yeah, you’re likely looking at a faulty internal cartridge. Think of it like a worn-out career path—sometimes you can’t just “tweak” your way out of it; you need a total reset! It’s time to swap that cartridge out to restore your home’s harmony.
Is it worth investing in high-end replacement parts, or can I get away with the budget-friendly options from the local hardware store?
Think of it like your career: sometimes you want the entry-level basics, but investing in premium quality pays off in the long run. If you have a high-end designer faucet, definitely go for the name-brand parts to ensure a perfect fit. However, for a standard builder-grade tap, budget-friendly options from the local hardware store work just fine! Just remember: spend where it counts to avoid the stress of a repeat repair.
If I can't get the leak to stop after following these steps, how do I know when it's officially time to call in a professional plumber?
Listen, I’m all about that DIY empowerment, but knowing when to call for backup is a huge part of maintaining your peace of mind. If you’ve followed the steps and that drip is still mocking you—or if you spot water pooling under the sink—stop right there. Don’t risk a flooded kitchen or a massive repair bill. If it feels overwhelming or looks structural, call a pro. Sometimes, investing in an expert is the ultimate act of self-care.