I was sitting on my floor last Sunday, surrounded by scraps of velvet and a very stubborn staple gun, wondering why I ever thought I could tackle this alone. My old thrift store find looked more like a wounded animal than a piece of furniture, and for a second, I felt that familiar wave of imposter syndrome creeping in. But then I took a deep breath, channeled a little bit of my yoga mindfulness, and realized that learning how to reupholster a chair isn’t actually about perfection—it’s about the creative flow of turning something forgotten into something soulful.
Forget those intimidating, high-budget DIY videos that make you feel like you need a professional workshop to succeed. I’m going to strip away the fluff and give you the real-world blueprint for transforming your space without breaking your bank account. We are going to walk through the essential tools, the fabric selection secrets, and the step-by-step techniques you actually need to master. By the end of this guide, you’ll have the confidence to tackle your own projects and find that sweet spot of productive joy in your home.
Table of Contents
- Step-by-Step Instructions
- Curating Your Space With Intentional Fabric Selection for Furniture
- Mastering Upholstery Tools and Supplies for a Soulful Transformation
- Five Pro-Tips to Keep Your Sanity (and Your Chair) Intact
- Bringing It All Together: Your Soulful Success Checklist
- ## The Soul Behind the Stitch
- The Final Stitch: Bringing Your Vision to Life
- Frequently Asked Questions
Guide Overview
Tools & Supplies
- Staple gun and staples for securing fabric
- Pliers for removing old staples and tacking
- Fabric scissors for precision cutting
- Measuring tape for calculating dimensions
- Mallet for smoothing out bumps
- Upholstery fabric (2-3 yards depending on chair size)
- High-density foam (1-2 sheets)
- Batting/Dacron (1 roll or sheet for padding)
- Dust cover fabric (1 yard for bottom finish)
Step-by-Step Instructions
- 1. First things first, we need to perform a little “financial audit” of your chair—and by that, I mean stripping it down to its bare essentials. Grab a staple remover or a flat-head screwdriver and carefully peel away the old fabric, the foam, and any old batting. It might look a bit chaotic and messy at first, but think of this as clearing out an old, cluttered spreadsheet to make room for something much more profitable and beautiful.
- 2. Once the skeleton is exposed, take a close look at the structure. Check for any loose screws, wobbly legs, or worn-down springs that might compromise the “return on investment” of your hard work. If the seat feels a bit sunken, this is the perfect moment to add a fresh layer of high-density foam. You want a base that is firm yet forgiving, much like a well-structured retirement plan.
- 3. Now, let’s talk about the “capital” of this project: your new fabric. Before you even touch a staple gun, lay your fabric out flat and place the chair seat on top of it. You’ll want to leave plenty of extra material—about three to five inches—on all sides. I always tell my clients that over-preparing is better than under-delivering, and that rule applies to upholstery just as much as it does to a big presentation.
- 4. It’s time to get tactical. Start your stapling at the center of each of the four sides to ensure everything stays symmetrical. Pull the fabric taut—but please, don’t pull it so tight that you distort the pattern—and secure it with your staple gun. Work your way from the center out toward the corners, keeping your tension consistent so you don’t end up with unsightly wrinkles.
- 5. The corners are where most people lose their “market confidence,” but don’t let them stress you out! Instead of panic-stapling, try folding the excess fabric into neat, clean pleats, similar to how you’d fold a crisp linen shirt. This technique creates a polished, professional finish that makes the chair look like it came straight from a high-end boutique rather than a DIY weekend project.
- 6. Once you’ve secured the fabric, it’s time for the final trim. Carefully cut away any excess material that’s hanging off the underside, being careful not to nick the staples you just worked so hard to place. If you’re feeling extra fancy, you can add a decorative trim or some nailhead studs around the edge to give it that extra bit of flair that makes it uniquely yours.
- 7. Finally, take a deep breath and step back to admire your handiwork. You’ve just successfully managed a complex project from start to finish! Whether you use this chair as a reading nook for your morning mindfulness practice or as a statement piece in your living room, remember that you’ve invested time in creating something meaningful, and that is the ultimate win.
Curating Your Space With Intentional Fabric Selection for Furniture
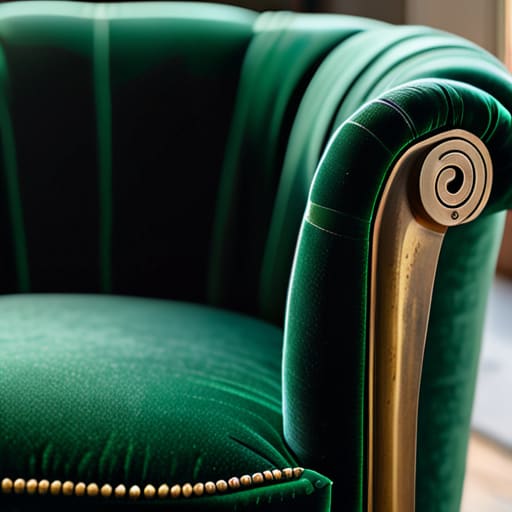
Now that you’ve mastered the heavy lifting, let’s talk about the soul of your project: the fabric. Choosing the right material is where your personal style and your home’s “vibe” truly collide. When you’re diving into fabric selection for furniture, I always tell my clients to think beyond just the color. Consider the lifestyle of your space! If you have a energetic household with pets or kids, a durable performance fabric is your best friend. If you’re looking for a moment of zen in your reading nook, maybe a soft, tactile velvet is the way to go.
Don’t forget that the fabric is only as good as what’s underneath it. Since you’ve already gone through the process of removing old fabric from the chair, this is your golden opportunity to refresh the foundation. If the seat feels a little lackluster, I highly recommend an upholstery foam replacement to give that piece the structural integrity and comfort it deserves. It’s like a facial for your furniture—it breathes new life into the piece and ensures that your hard work feels as good as it looks.
Mastering Upholstery Tools and Supplies for a Soulful Transformation
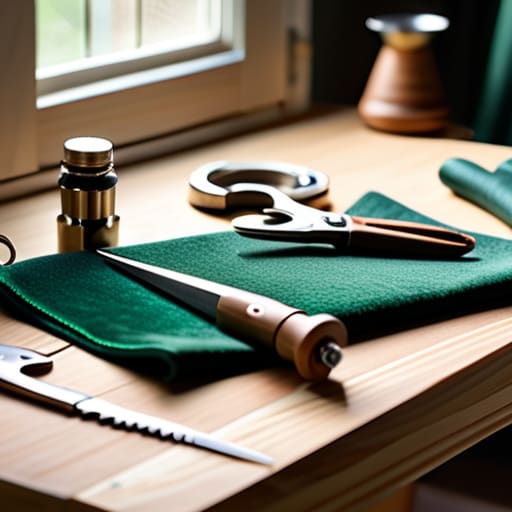
Before you dive into the actual transformation, let’s talk about your toolkit. Think of this like setting up your workspace for a mindfulness session—if your environment is cluttered or you’re missing the right gear, your focus will slip. To truly master the craft, you need to invest in quality upholstery tools and supplies rather than just grabbing whatever is in the junk drawer. I always tell my clients that preparation is half the battle, whether you’re prepping for a big board meeting or a weekend DIY project.
When you start removing old fabric from the chair, don’t rush the process. Take a moment to inspect what lies beneath; this is your chance to decide if you need an upholstery foam replacement to bring that seat back to life. If the structure feels a bit weary, check the condition of the upholstery webbing and springs. It might feel like extra work, but addressing these foundational elements ensures your project isn’t just a quick fix, but a lasting piece of art that brings genuine comfort and joy to your home for years to come.
Five Pro-Tips to Keep Your Sanity (and Your Chair) Intact
- Don’t toss those old fabric scraps! Before you pull anything off, take a quick photo or keep a piece of the original material. It’s like a little roadmap that helps you remember exactly how the original maker handled those tricky corners and seams.
- Think of your tension like your yoga practice—it needs to be firm but not forced. If you pull the fabric too tight, you’ll end up with puckers that look more like a wrinkled forehead than a sleek seat; if it’s too loose, well, let’s just say it won’t feel very luxurious.
- Measure twice, cut once, and then measure one more time! I know, I know, it sounds like a cliché, but in the world of upholstery, an extra inch of fabric is your best friend, while being an inch short is a total heartbreak.
- Invest in a high-quality staple gun rather than trying to save a few bucks on a flimsy one. There is nothing more frustrating—or bad for your zen—than a stapler that jams every three minutes when you’re finally in the “flow” of your project.
- Always work from the center outwards. Whether you’re tackling the seat cushion or the backrest, starting in the middle helps distribute the tension evenly, ensuring your beautiful new fabric lays smooth and looks professional.
Bringing It All Together: Your Soulful Success Checklist
Remember that reupholstering is about more than just a fresh look; it’s a mindful practice of renewal that allows you to invest time and intention back into your home environment.
Don’t skimp on the quality of your tools or fabrics—choosing high-quality materials is a way of honoring your hard work and ensuring your beautiful transformation stands the test of time.
Embrace the learning curve with grace; if a stitch goes wonky, don’t sweat it—just treat it as a lesson in patience and keep flowing toward your creative goal.
## The Soul Behind the Stitch
“Think of reupholstering a chair as more than just a DIY project; it’s a metaphor for life. Sometimes, we need to strip away the worn-out layers and invest in something new and vibrant to truly rediscover the comfort and beauty we deserve.”
Lena Anderson
The Final Stitch: Bringing Your Vision to Life
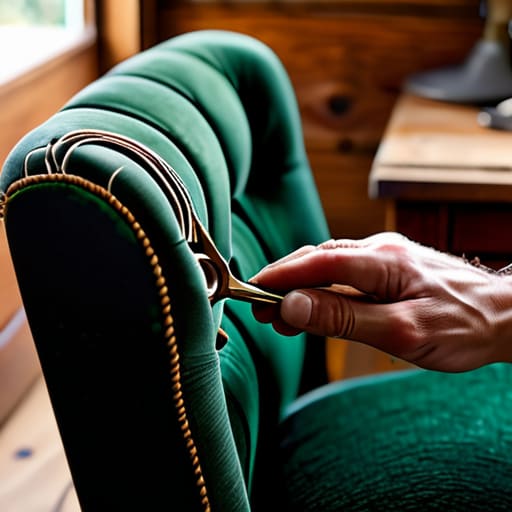
Now that you’ve navigated the technicalities—from selecting that perfect, soulful fabric to mastering your toolkit—you’ve officially crossed the finish line. Reupholstering a chair is more than just a DIY project; it’s a blend of practical skill and intentional design. You’ve learned how to strip away the old, prep the foundation, and carefully wrap your piece in a new identity. It might have felt a little daunting when you first pulled out the staple gun, but by focusing on the details and trusting your process, you’ve transformed a tired piece of furniture into something that truly reflects your personal style and energy.
As you take a moment to sit back and admire your handiwork, I want you to remember something important: this process is a beautiful metaphor for life itself. Just like this chair, we all go through seasons where we need to shed the old layers to make room for something more vibrant and resilient. Don’t be afraid to embrace the messy middle of any transformation, whether it’s in your living room or your career. Ultimately, the goal is to create a life that feels as good as it looks, filled with purpose, creativity, and a whole lot of soul. You did it!
Frequently Asked Questions
I’m a bit worried about the budget—how do I know when it’s more cost-effective to reupholster an old piece versus just investing in something brand new?
I totally get it—budget anxiety is real! Think of it like a career pivot: you have to weigh the investment against the long-term payoff. If the chair has a solid, high-quality frame, reupholstering is a win for your wallet and the planet. But if the bones are wobbly or rotting, save your hard-earned cash. Sometimes, investing in a new, well-made piece is more cost-effective than pouring money into a sinking ship!
Is it possible to reupholster a chair if the wooden frame itself feels a little wobbly or damaged, or should I fix that first?
Oh, I am so glad you asked this! Think of it like this: you wouldn’t try to build a beautiful, high-growth investment portfolio on a shaky financial foundation, right? You’ve got to fix that frame first! If the wood is wobbly, your new fabric won’t stand a chance. Take a moment to tighten those joints or apply some wood glue. Once the structure is solid, you can dive into the fun, creative part with total peace of mind.
I love the idea of a DIY project, but how do I avoid the frustration of a "Pinterest fail" if I've never used a staple gun or heavy-duty fabric before?
Oh, I hear you! That “Pinterest fail” anxiety is so real—I used to get it with everything from sourdough to yoga poses. My best advice? Start small and lower the stakes. Don’t tackle a massive velvet armchair for your first go; try a small dining chair or even a footstool. Think of it like a pilot program for your skills. If you mess up a bit, it’s not a failure—it’s just part of the learning curve!