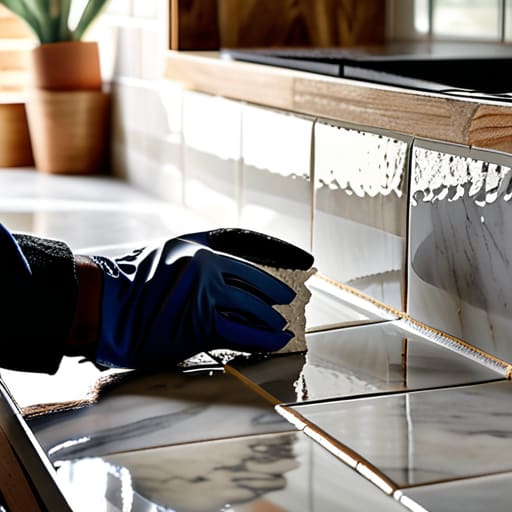
I was standing in my tiny, first New York apartment, staring at a patch of stained, beige drywall between my stove and sink, feeling completely overwhelmed. I had this vision of a chic, subway-tiled kitchen, but the thought of hiring a contractor felt like a total financial sinkhole. I remember thinking, “There is no way I can figure out how to tile a backsplash without making a massive, expensive mess.” But here’s the truth: most people think you need a professional degree or a massive budget to transform your space, when really, it’s just about patience and the right rhythm.
In this guide, I’m stripping away the intimidation factor and giving you the real, no-nonsense breakdown of how to tackle this project yourself. We aren’t just talking about technical steps; I’m going to help you navigate the process so you can actually enjoy the creative flow instead of stressing over every single grout line. From choosing the right materials to mastering the layout, you’ll get the practical, step-by-step advice you need to build a kitchen sanctuary that feels like a true reflection of you.
Table of Contents
- Step-by-Step Instructions
- Finding Your Rhythm Through Backsplash Material Selection
- Mastering Kitchen Wall Preparation for a Balanced Foundation
- Small Wins and Smooth Finishes: My Top 5 Pro-Tips for a Stress-Free Tile Day
- Finding Your Flow: The Heart of Your Backsplash Journey
- Finding Your Flow in the Details
- The Final Polish: Celebrating Your Hard Work
- Frequently Asked Questions
Guide Overview
Tools & Supplies
- Tile cutter or wet saw for precise cuts
- Notched trowel for applying adhesive
- Rubber grout float for spreading grout
- Spacers to maintain even gaps
- Level to ensure straight lines
- Backsplash tiles (10% extra for breakage)
- Tile adhesive or mastic
- Grout (color of choice)
- Tile sealer
- Caulk for corner joints
Step-by-Step Instructions
- 1. Before we even touch a single tile, we need to prep our space. Think of this like setting the foundation for a new career move—if your base isn’t solid, everything else feels shaky. Clear off your countertops, remove any outlet covers, and give your walls a good wipe-down with a degreaser. You want a surface that is completely clean and dry so the adhesive can really do its job.
- 2. Next, let’s talk about layout and planning. This is where you find your rhythm! Instead of just starting in a corner, I always recommend finding the center point of your backsplash and working outward. Use a level to draw a light pencil line so you don’t end up with a crooked masterpiece, and maybe even do a “dry run” by laying your tiles out on the counter first to see how the pattern flows.
- 3. Now, it’s time to get a little messy with the thin-set mortar. Scoop some out onto a notched trowel and spread it onto the wall in small sections. You’re looking for a consistent, ridged pattern—not too thick, not too thin. It’s a bit like managing your cash flow; you want to distribute your resources evenly so you don’t run out halfway through the project!
- 4. Carefully press your tiles into the mortar. Give each one a tiny, gentle wiggle to ensure it’s seated properly and that there are no air pockets hiding underneath. As you go, use your level frequently to make sure everything is staying true. It might feel a little slow, but remember, patience is your superpower when you’re building something beautiful.
- 5. Once your tiles are in place, grab your spacers. These little plastic gems are absolute lifesavers because they ensure your grout lines stay perfectly uniform. Pop them into the gaps between the tiles as you work. This step is all about creating consistency, which is just as important in your home as it is in your professional life.
- 6. After the mortar has had enough time to cure (usually about 24 hours, so go do some yoga!), it’s time for the grand finale: grouting. Mix your grout to a peanut butter consistency and use a rubber grout float to push it into those gaps. Don’t forget to pack it in tight! Once it’s spread, take a damp sponge and gently wipe away the excess from the tile surfaces. It’s incredibly satisfying to see the pattern finally pop and come to life.
- 7. Finally, once everything is dry, give your new backsplash a good polish with a dry microfiber cloth to remove any remaining grout haze. Step back, grab a cup of tea, and take a moment to soak in the accomplishment. You didn’t just tile a wall; you created a sanctuary with your own two hands!
Finding Your Rhythm Through Backsplash Material Selection
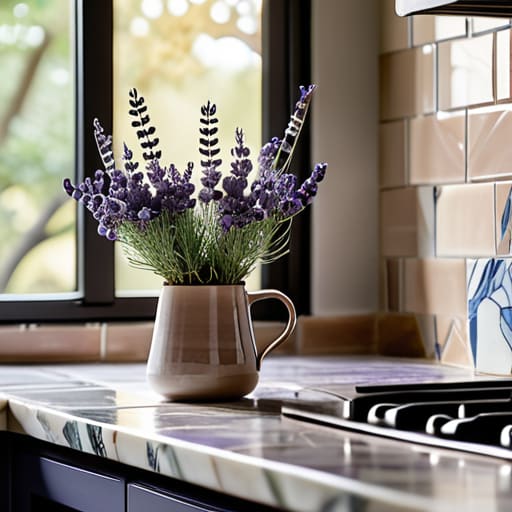
Choosing your materials isn’t just a technical decision; it’s about setting the vibe for your entire kitchen sanctuary. When I’m helping clients curate their workspaces or homes, I always tell them that the aesthetic should fuel your energy. If you’re leaning towards a classic, timeless look, a subway tile installation is incredibly rewarding. It’s clean, organized, and offers that sense of structured calm we all crave after a hectic day in the city. However, if you want something more tactile and organic, consider natural stone or handcrafted ceramics. The key is to ensure your backsplash material selection aligns with how you actually use your space—will you be hosting lively dinner parties or enjoying quiet morning meditations with a cup of tea?
Once you’ve picked your “hero” material, don’t rush the prep. I’ve seen so many people skip the crucial kitchen wall preparation phase only to regret it when the tiles start looking wonky. Think of it like setting a budget or a wellness routine: if the foundation isn’t solid, the rest feels shaky. Take your time to visualize your tiling layout patterns before the first drop of adhesive touches the wall. This mindful approach turns a daunting DIY task into a rhythmic, creative flow.
Mastering Kitchen Wall Preparation for a Balanced Foundation
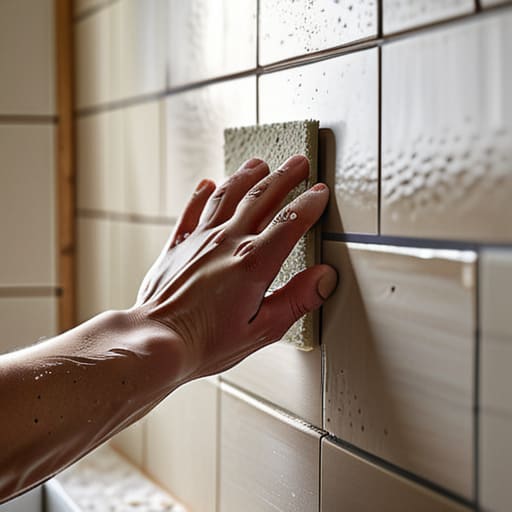
Before we get into the fun part of actually setting those beautiful tiles, we need to talk about the groundwork. I like to think of kitchen wall preparation much like setting intentions during a morning meditation; if your foundation isn’t steady, the rest of the practice feels off. You’ll want to ensure your walls are scrubbed clean of any grease or dust. If you’re working with a surface that isn’t perfectly flat, don’t panic! A little bit of patching or sanding can go a long way in preventing those frustrating gaps that can throw off your entire tiling layout patterns later on.
Once your surface is smooth and dry, it’s time to check your electrical outlets. I always tell my clients that being proactive now saves a massive headache during the actual installation. Make sure your outlet covers are removed and the wires are tucked back safely. Taking this extra moment to prep ensures that when you finally dive into your subway tile installation, you can stay in that creative flow state without any unexpected interruptions. It’s all about creating a stable base for your masterpiece to shine.
Small Wins and Smooth Finishes: My Top 5 Pro-Tips for a Stress-Free Tile Day
- Don’t skip the “dry run”! Before you even touch a tub of mortar, lay your tiles out on the counter to see how the patterns flow. It’s like a little rehearsal for a big performance—it saves you from that mid-project panic when the colors don’t quite sing together.
- Invest in a decent tile spacer kit. I know, it feels like a tiny detail, but consistent spacing is the difference between a professional-looking sanctuary and a DIY disaster. Think of it as the “mindfulness” of tiling—it’s all about that steady, intentional rhythm.
- Keep a damp sponge and a bucket of clean water within arm’s reach at all times. Cleaning grout off the face of your beautiful new tiles is much easier when you do it immediately rather than waiting for it to harden. It’s all about maintaining that flow!
- When you hit those tricky corners or outlets, don’t let it ruin your zen. Take a deep breath, grab your tile nippers, and treat it like a puzzle. If a piece doesn’t fit perfectly on the first try, it’s just a chance to recalibrate and try a different approach.
- Remember that perfection is the enemy of progress. If a line is a hair off, don’t let it spiral into a career-ending crisis! Once the light hits that backsplash and you’re sipping your morning coffee, you’re going to see the beauty you created, not the millimeter mistake.
Finding Your Flow: The Heart of Your Backsplash Journey
Remember that the preparation phase is your foundation for peace of mind; taking the extra time to prep your walls now prevents the “career-climbing” stress of fixing mistakes later.
Let your material selection be an expression of your personal sanctuary, choosing textures and colors that bring you genuine joy every time you walk into your kitchen.
Embrace the process with patience and mindfulness, viewing the tiling not just as a home improvement task, but as a creative way to find rhythm and accomplishment in your daily life.
Finding Your Flow in the Details
“Tiling a backsplash is a lot like building a career; it’s not just about the big, flashy finishes, but about the patience you show in the prep work and the steady, rhythmic way you lay each piece to create a foundation that actually lasts.”
Lena Anderson
The Final Polish: Celebrating Your Hard Work
As we wrap up this project, take a second to look back at everything you’ve accomplished. From the meticulous prep work that ensured a solid foundation to the intentional way you selected materials that reflect your personal style, you’ve navigated the technicalities of tiling with grace. You didn’t just follow a set of instructions; you managed the logistics of a home renovation while staying present in the process. Whether you faced a few tricky corner cuts or spent extra time perfecting your grout lines, you’ve successfully turned a daunting DIY task into a tangible, beautiful reality for your kitchen.
At the end of the day, this backsplash is about so much more than just protecting your walls or adding a pop of color. It’s a physical manifestation of your ability to learn, adapt, and create something meaningful from scratch. I always tell my clients that the most rewarding milestones aren’t just the big promotions, but the small, intentional ways we invest in our own environments and well-being. So, grab a glass of wine, step back, and soak in that sense of pride. You haven’t just updated a kitchen; you have crafted a sanctuary that truly feels like home.
Frequently Asked Questions
How do I know if I’ve used enough grout, or am I going to end up with those annoying gaps?
Oh, the dreaded grout gap! I totally get the anxiety—it’s like worrying about a tiny error in a quarterly budget. To avoid those gaps, think of grout as a filler, not a structural component. When spreading, use your float at a 45-degree angle to pack it firmly into every crevice. If the grout looks “thirsty” or starts pulling away, add a little more. You want it flush and full, like a well-balanced savings account!
Is it worth the extra investment to go with a professional-grade tile cutter, or can I get away with a basic DIY kit?
Honestly, this is a classic “investment vs. savings” dilemma! If you’re planning on doing a one-off project, a basic DIY kit can get you through. But, if you find joy in the precision of your work, a professional-grade cutter is a game changer. It reduces frustration and prevents those heartbreaking cracked tiles. Think of it as investing in your peace of mind—and your beautiful finished product! It’s much easier to breathe when your cuts are clean.
How can I make sure my pattern stays perfectly straight without losing my mind halfway through the project?
Trust me, I’ve been there—staring at a slightly crooked tile and feeling my blood pressure spike! To keep your sanity (and your lines) intact, invest in a good leveling system or spacers; they are total game-changers. Also, always start with a perfectly level ledger board at the bottom. It’s like setting a solid foundation in your career—if the base is off, everything else feels shaky. Take a deep breath, grab some tea, and just take it one tile at a time!