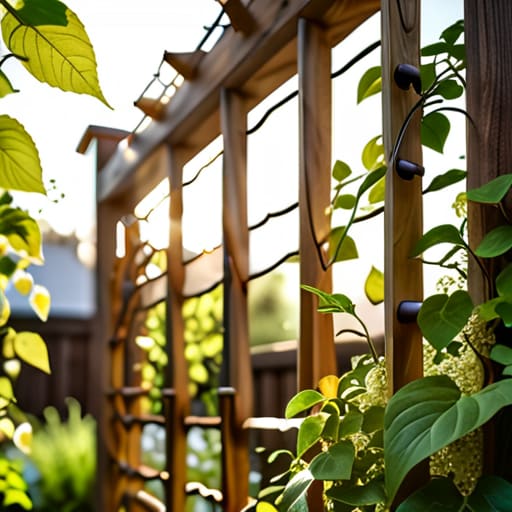
I was standing in my tiny Brooklyn balcony garden last summer, staring at a tangled, weeping mess of jasmine that looked more like a green disaster zone than a sanctuary, when it hit me: I was trying to force my plants to grow without giving them a backbone. Most people think that learning how to build a garden trellis requires a degree in architecture or a massive budget for fancy cedar planks, but honestly? That’s just a myth that keeps us from actually getting our hands dirty. Sometimes, all you really need is a little bit of structure and a lot of intentionality to turn a chaotic vine into a vertical masterpiece.
In this guide, I’m stripping away the complicated jargon and the expensive hardware store lists to give you a straightforward, soulful approach to DIY gardening. I’ll walk you through the simple materials you actually need and the step-by-step process of how to build a garden trellis that looks beautiful and, more importantly, actually lasts. Whether you have a sprawling backyard or just a few pots on a fire escape, we’re going to create a space that helps your plants—and your spirit—reach new heights.
Table of Contents
- Step-by-Step Instructions
- Finding Harmony Through Wooden Trellis Design Ideas
- Essential Garden Trellis Materials List for Your Sanctuary
- Pro-Tips for a Trellis That Stands the Test of Time (and Your Ambition!)
- Final Thoughts: Growing Your Success (and Your Garden)
- Cultivating Growth from the Ground Up
- Planting the Seeds of Your Success
- Frequently Asked Questions
Guide Overview
Tools & Supplies
- Measuring tape for accurate cuts
- Handsaw or miter saw for wood cutting
- Drill with bits for making pilot holes
- Screwdriver or drill driver for assembly
- Cedar or pressure-treated wood stakes (4-6 pieces)
- Wooden lattice panels or thin garden twine (1 unit)
- Exterior grade wood screws (1 box)
- Garden staples or wire ties (1 pack)
Step-by-Step Instructions
- 1. First things first, let’s gather our supplies. Think of this like prepping for a big presentation—you wouldn’t walk into a boardroom without your notes, right? You’ll need some sturdy wooden stakes or even some bamboo poles, some heavy-duty twine or garden wire, a pair of sharp garden shears, and a drill if you’re feeling extra fancy. Grab a small notebook to jot down your measurements so you don’t have to keep running back and forth to the shed.
- 2. Next, we need to pick the perfect spot for our trellis. You want a location that gets plenty of sun, but more importantly, you need to find a place that feels peaceful and intentional. I like to stand in the garden for a few minutes, just breathing and observing where the light hits, before I commit to digging. Once you’ve found “the spot,” mark out where your vertical supports will go.
- 3. Now, it’s time to get a little bit dirty! Drive your main support stakes into the ground where you marked them. If you’re using thicker wood, you might need a mallet to get them settled deep enough so they don’t topple over during a summer thunderstorm. This is the foundation of your project, much like building a solid financial savings plan—it’s all about that structural integrity.
- 4. Once your stakes are standing tall and proud, we get to the fun part: creating the lattice. Take your twine or wire and begin weaving it between the stakes in a crisscross pattern. You can go for a classic diamond shape or even a simple grid. As you work, try to stay present in the moment; focus on the rhythm of the weaving rather than just rushing to the finish line.
- 5. If you’re using a combination of wood and wire, you might want to use small eye-screws to create anchor points. This gives you much more control over the pattern and ensures everything stays tight and secure. It’s a little bit of extra work upfront, but it’s an investment that will pay off when your heavy vines start climbing.
- 6. Finally, give your trellis a little “stress test” by gently tugging on the wires and stakes. You want to make sure everything is rock solid before you introduce your leafy green friends to the structure. If it feels sturdy, you are officially ready to plant! Now, take a deep breath, maybe do a quick sun salutation, and enjoy the beautiful space you’ve just created.
Finding Harmony Through Wooden Trellis Design Ideas
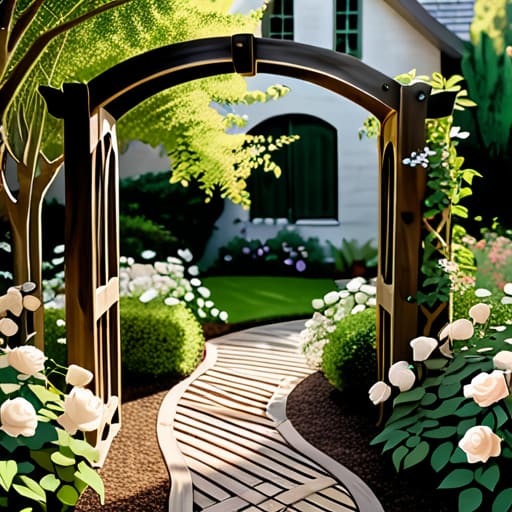
When you start looking at different wooden trellis design ideas, I want you to think beyond just the structural utility. To me, a trellis is like a centerpiece for your outdoor sanctuary; it’s the frame that holds your living art. You might opt for a classic, minimalist lattice if you’re aiming for a clean, modern vibe that complements a structured patio. However, if your goal is to create a more whimsical, “secret garden” feel, consider an arched design. These sweeping curves provide incredible climbing plant support structures that draw the eye upward, making even a small urban balcony feel like a lush, sprawling estate.
I always tell my clients that just like a career pivot, your garden needs a solid foundation to support its growth. Whether you are experimenting with different vertical gardening trellis methods or sticking to a traditional rectangular frame, the key is to design with the plant’s future in mind. Think about how the shadows will fall during your morning meditation or how the scent of jasmine will drift toward your seating area. When you design with intentionality and beauty in mind, you aren’t just building a garden accessory—you’re crafting a space for peace.
Essential Garden Trellis Materials List for Your Sanctuary
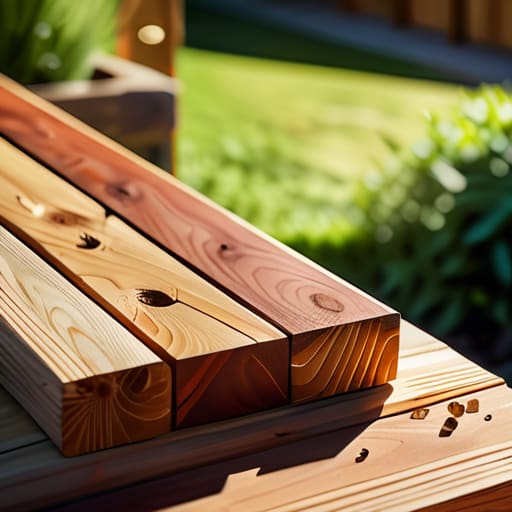
Before you dive into the actual construction, let’s talk about the “investment” phase—and I don’t just mean your bank account! When I’m putting together a garden trellis materials list, I always tell my clients to think like a CFO: look for the best long-term value. You want materials that won’t crumble the moment a summer thunderstorm hits. Cedar and redwood are my absolute favorites because they are naturally rot-resistant, meaning they’ll stand strong while your vines do their thing. If you’re on a tighter budget, pressure-treated lumber is a solid alternative, just make sure it’s rated for ground contact.
Don’t forget the little things that make the difference between a shaky structure and a professional-grade setup. I highly recommend picking up some high-quality stainless steel screws rather than cheap nails; they won’t rust or pop out when the wood expands and contracts with the weather. You’ll also want some sturdy twine or even specialized clips if you’re planning on more intricate climbing plant support structures. Think of these supplies as the foundation of your sanctuary—when the basics are solid, you can truly relax and enjoy the growth!
Pro-Tips for a Trellis That Stands the Test of Time (and Your Ambition!)
- Think about the long game. Just like planning a career pivot, you don’t want to build something that collapses under pressure. Choose sturdy, weather-resistant materials like cedar or pressure-treated wood so your trellis stays upright even when your climbing vines get a little ambitious.
- Don’t forget the foundation! A trellis is only as strong as its support system. Make sure you’re securing your posts deep into the ground or attaching them to a solid structure. You wouldn’t build a business on shaky ground, so don’t do it to your garden!
- Plan for the “climb.” Different plants have different personalities—some like to twist, while others need to grab on. Before you start hammering, research if your star plant needs a flat lattice or a sturdy wire mesh to reach its full potential.
- Leave some breathing room. It’s tempting to pack everything in, but plants (and people!) need air to thrive. Space your lattice slats or wires just enough to allow for airflow; this prevents mold and keeps your little sanctuary feeling fresh and healthy.
- Add a touch of your own flair. Your garden is your personal retreat, so don’t be afraid to get creative! Whether it’s a pop of painted color or an asymmetrical design, make sure the trellis reflects your unique style—it’s your space to shine.
Final Thoughts: Growing Your Success (and Your Garden)
Remember that building a trellis is about more than just structural support; it’s about creating a beautiful, intentional space that allows both your plants and your spirit to climb and flourish.
Don’t get too caught up in perfectionism with your materials or design—the most important part is that you’ve taken the time to nurture something with your own two hands.
Treat your garden projects like your career: start with a solid foundation, choose the right tools for the job, and always leave plenty of room for natural growth and unexpected beauty.
Cultivating Growth from the Ground Up
“Building a trellis is so much more than just a DIY weekend project; it’s about creating a framework for something beautiful to climb, much like how we build the structures in our own lives to support our wildest ambitions and most peaceful moments.”
Lena Anderson
Planting the Seeds of Your Success
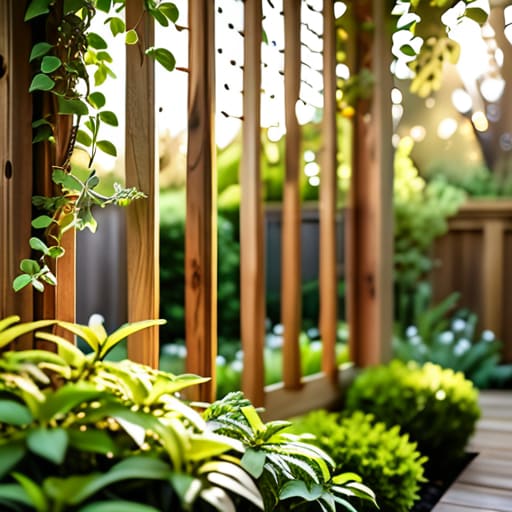
As we wrap up this little DIY adventure, take a second to look at what you’ve actually accomplished. You didn’t just gather a list of materials or follow a set of instructions; you took the initiative to build a foundation for something beautiful to grow. From selecting the right wood to choosing a design that complements your personal sanctuary, every decision you made was a step toward intentional living. Whether you went with a classic wooden structure or a more intricate design, you have successfully created a framework that supports both your climbing plants and your desire for a more organized, peaceful outdoor space. Remember, the most important part of this process wasn’t just the technical execution, but the mindful investment you made in your own environment.
At the end of the day, building a trellis is a lot like building a career or a personal wellness routine: it requires a solid structure, a bit of patience, and the courage to let things grow at their own pace. Don’t be discouraged if your vines take a little time to find their way around the slats; growth isn’t always a straight line, and that’s perfectly okay. I hope this project serves as a gentle reminder that when you take the time to nurture your surroundings, you are ultimately nurturing yourself. So, grab a cup of tea, find a cozy spot in your garden, and watch as your hard work turns into a living, breathing masterpiece of joy and balance.
Frequently Asked Questions
How do I make sure my trellis is sturdy enough to handle heavy climbers like wisteria or climbing roses without tipping over?
Oh, the “heavy hitters”! Wisteria and roses are gorgeous, but they can definitely turn your lovely trellis into a fallen monument if you aren’t careful. To keep things steady, I always recommend deep-setting your support posts in concrete or using heavy-duty earth anchors. Think of it like building a solid financial foundation—without that base, the whole structure can wobble! Also, don’t be afraid to use extra cross-bracing to distribute that weight.
What’s the best way to attach my new trellis to the house or a fence without causing permanent damage to the structure?
I totally get the hesitation—nobody wants to ruin a beautiful fence or your home’s siding just to add some greenery! To keep things damage-free, I love using heavy-duty command hooks or specialized masonry clips if you’re working with brick. If you’re attaching to a fence, try using UV-resistant zip ties; they’re incredibly sturdy but won’t leave permanent scars. It’s all about that balance of structure and flexibility—just like a good yoga pose!
Should I treat the wood with a specific sealant to prevent rot, or is it better to let it age naturally for a more rustic look?
That is such a great question! It really comes down to the “vibe” you want for your sanctuary. If you’re looking for that effortless, weathered cottagecore aesthetic, letting it age naturally is beautiful. However, if you want your trellis to stay sturdy for years without a headache, I’d definitely recommend a sealant. Think of it like a good retirement fund—a little upfront investment now saves you a lot of stress later!